“MESS” Optimization Development Log
Introduction
One of the common issues people have in Unreal nowadays is performance. In last years Epic is heading towards dynamic game worlds, that is noticeable by looking at the default settings of the engine: in Unreal 5, you immediately get Lumen, Nanite, Virtual Shadow Maps, TSR and other fancy features enabled.
From what I have seen since Unreal 5 came out, new developers are simply unaware of the old practices developers had to follow to make their environment performant and good-looking. There are people that think that genuinely think that you must have a modern computer to play any game made on Unreal 5. A lot of games could benefit from a little bit of manual work when it comes to environment creation; there’s no need to rely on a single checkbox that is supposed to automagically make everything work.
Some people think that Unreal 5 is way less performant than 4, but that’s not the case. If you use the same settings for both the versions, they will perform relatively the same; it’s a matter of knowing what you have to toggle. There are a lot of settings, but if you know what to toggle on or off, you’ll get what you want.
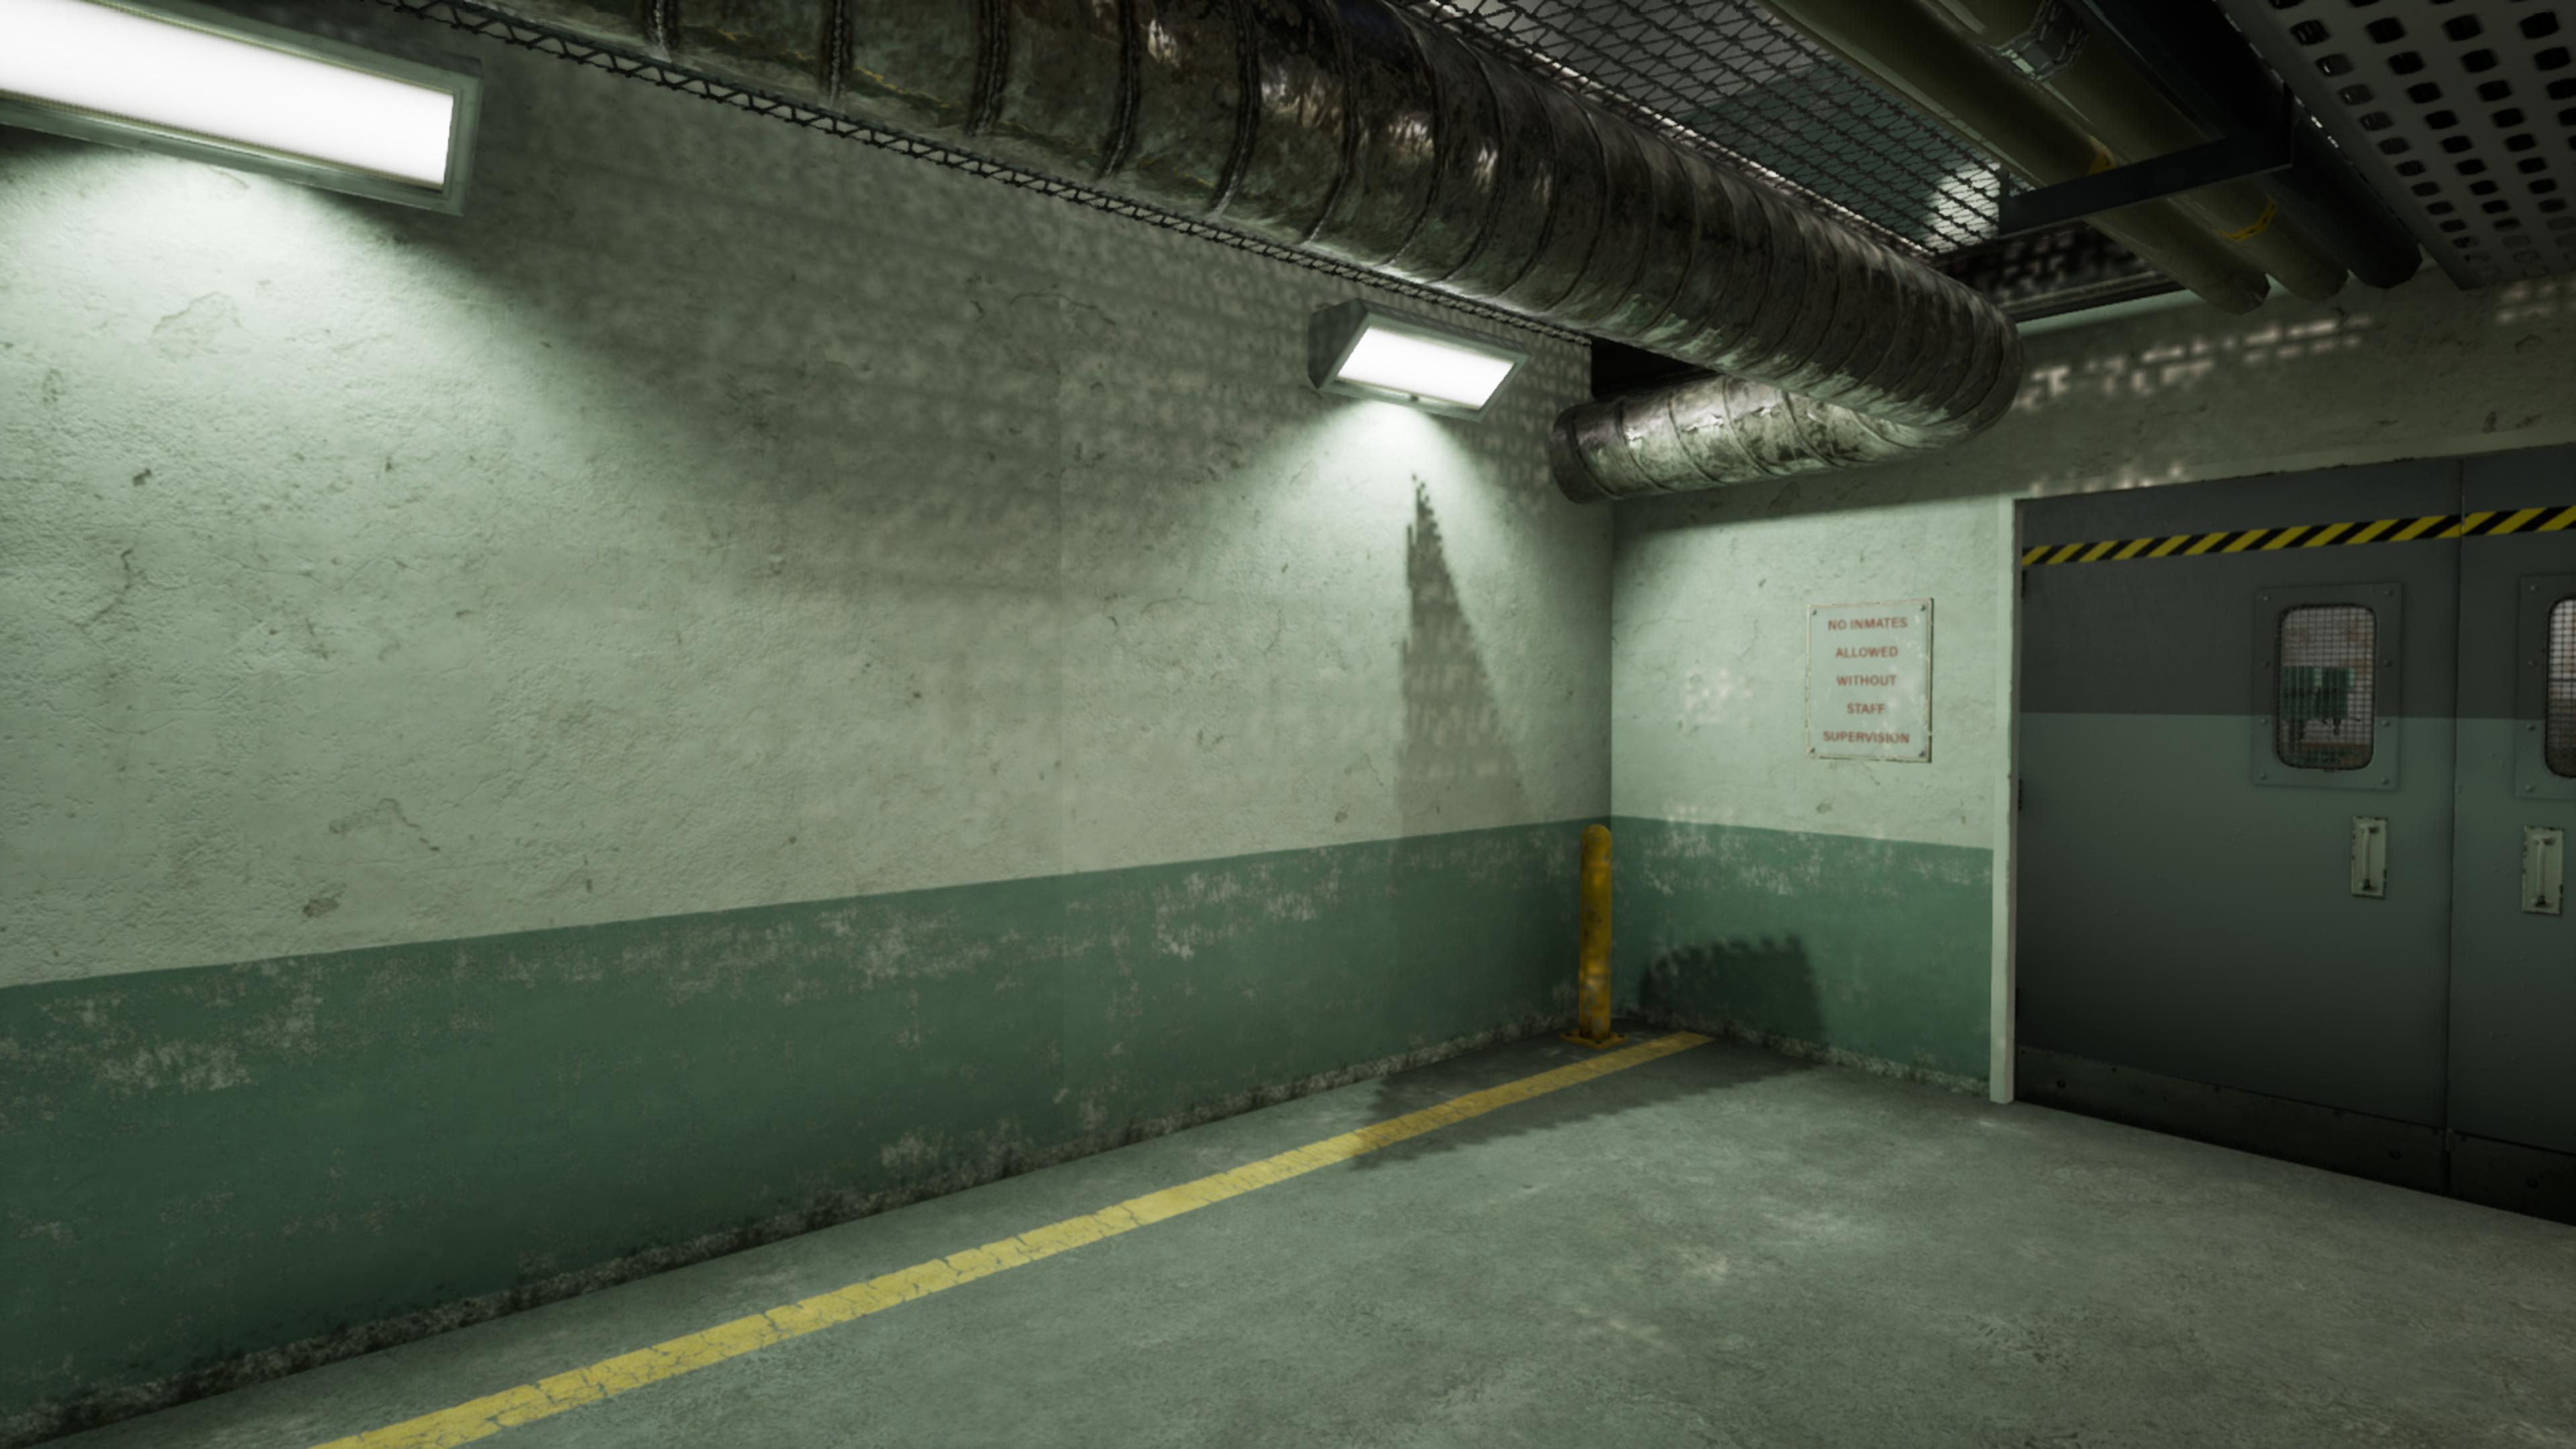
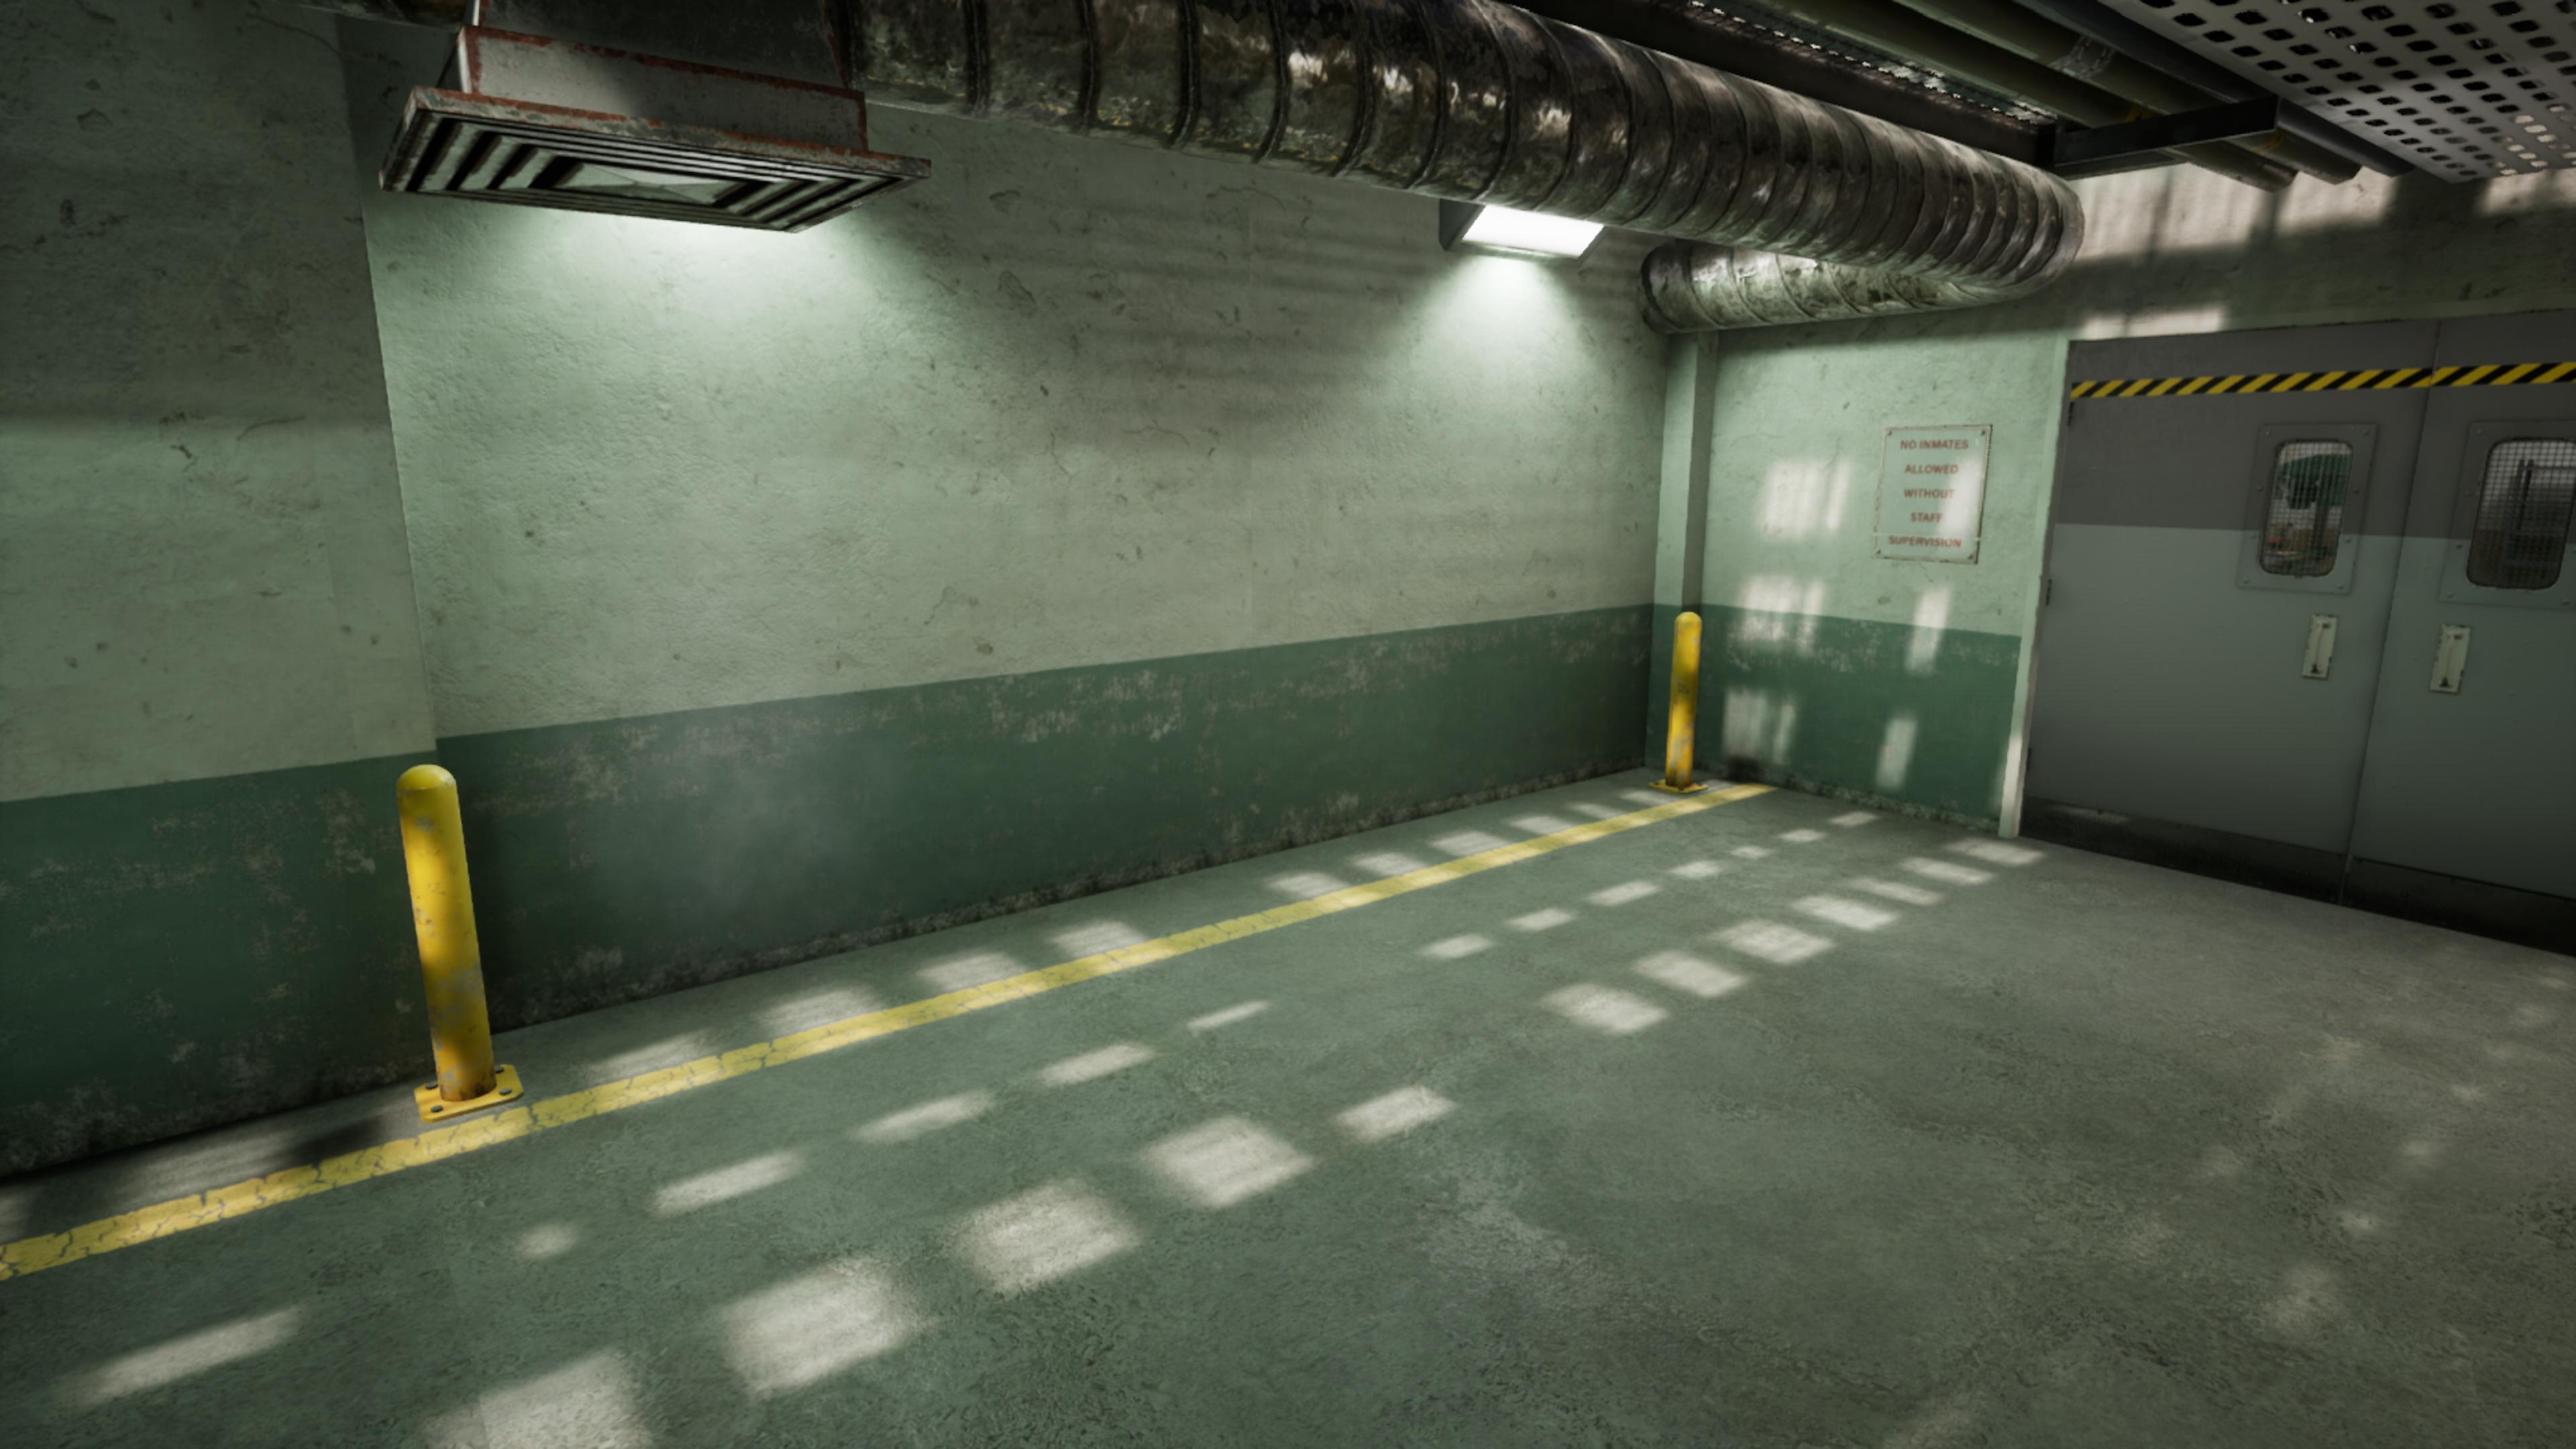
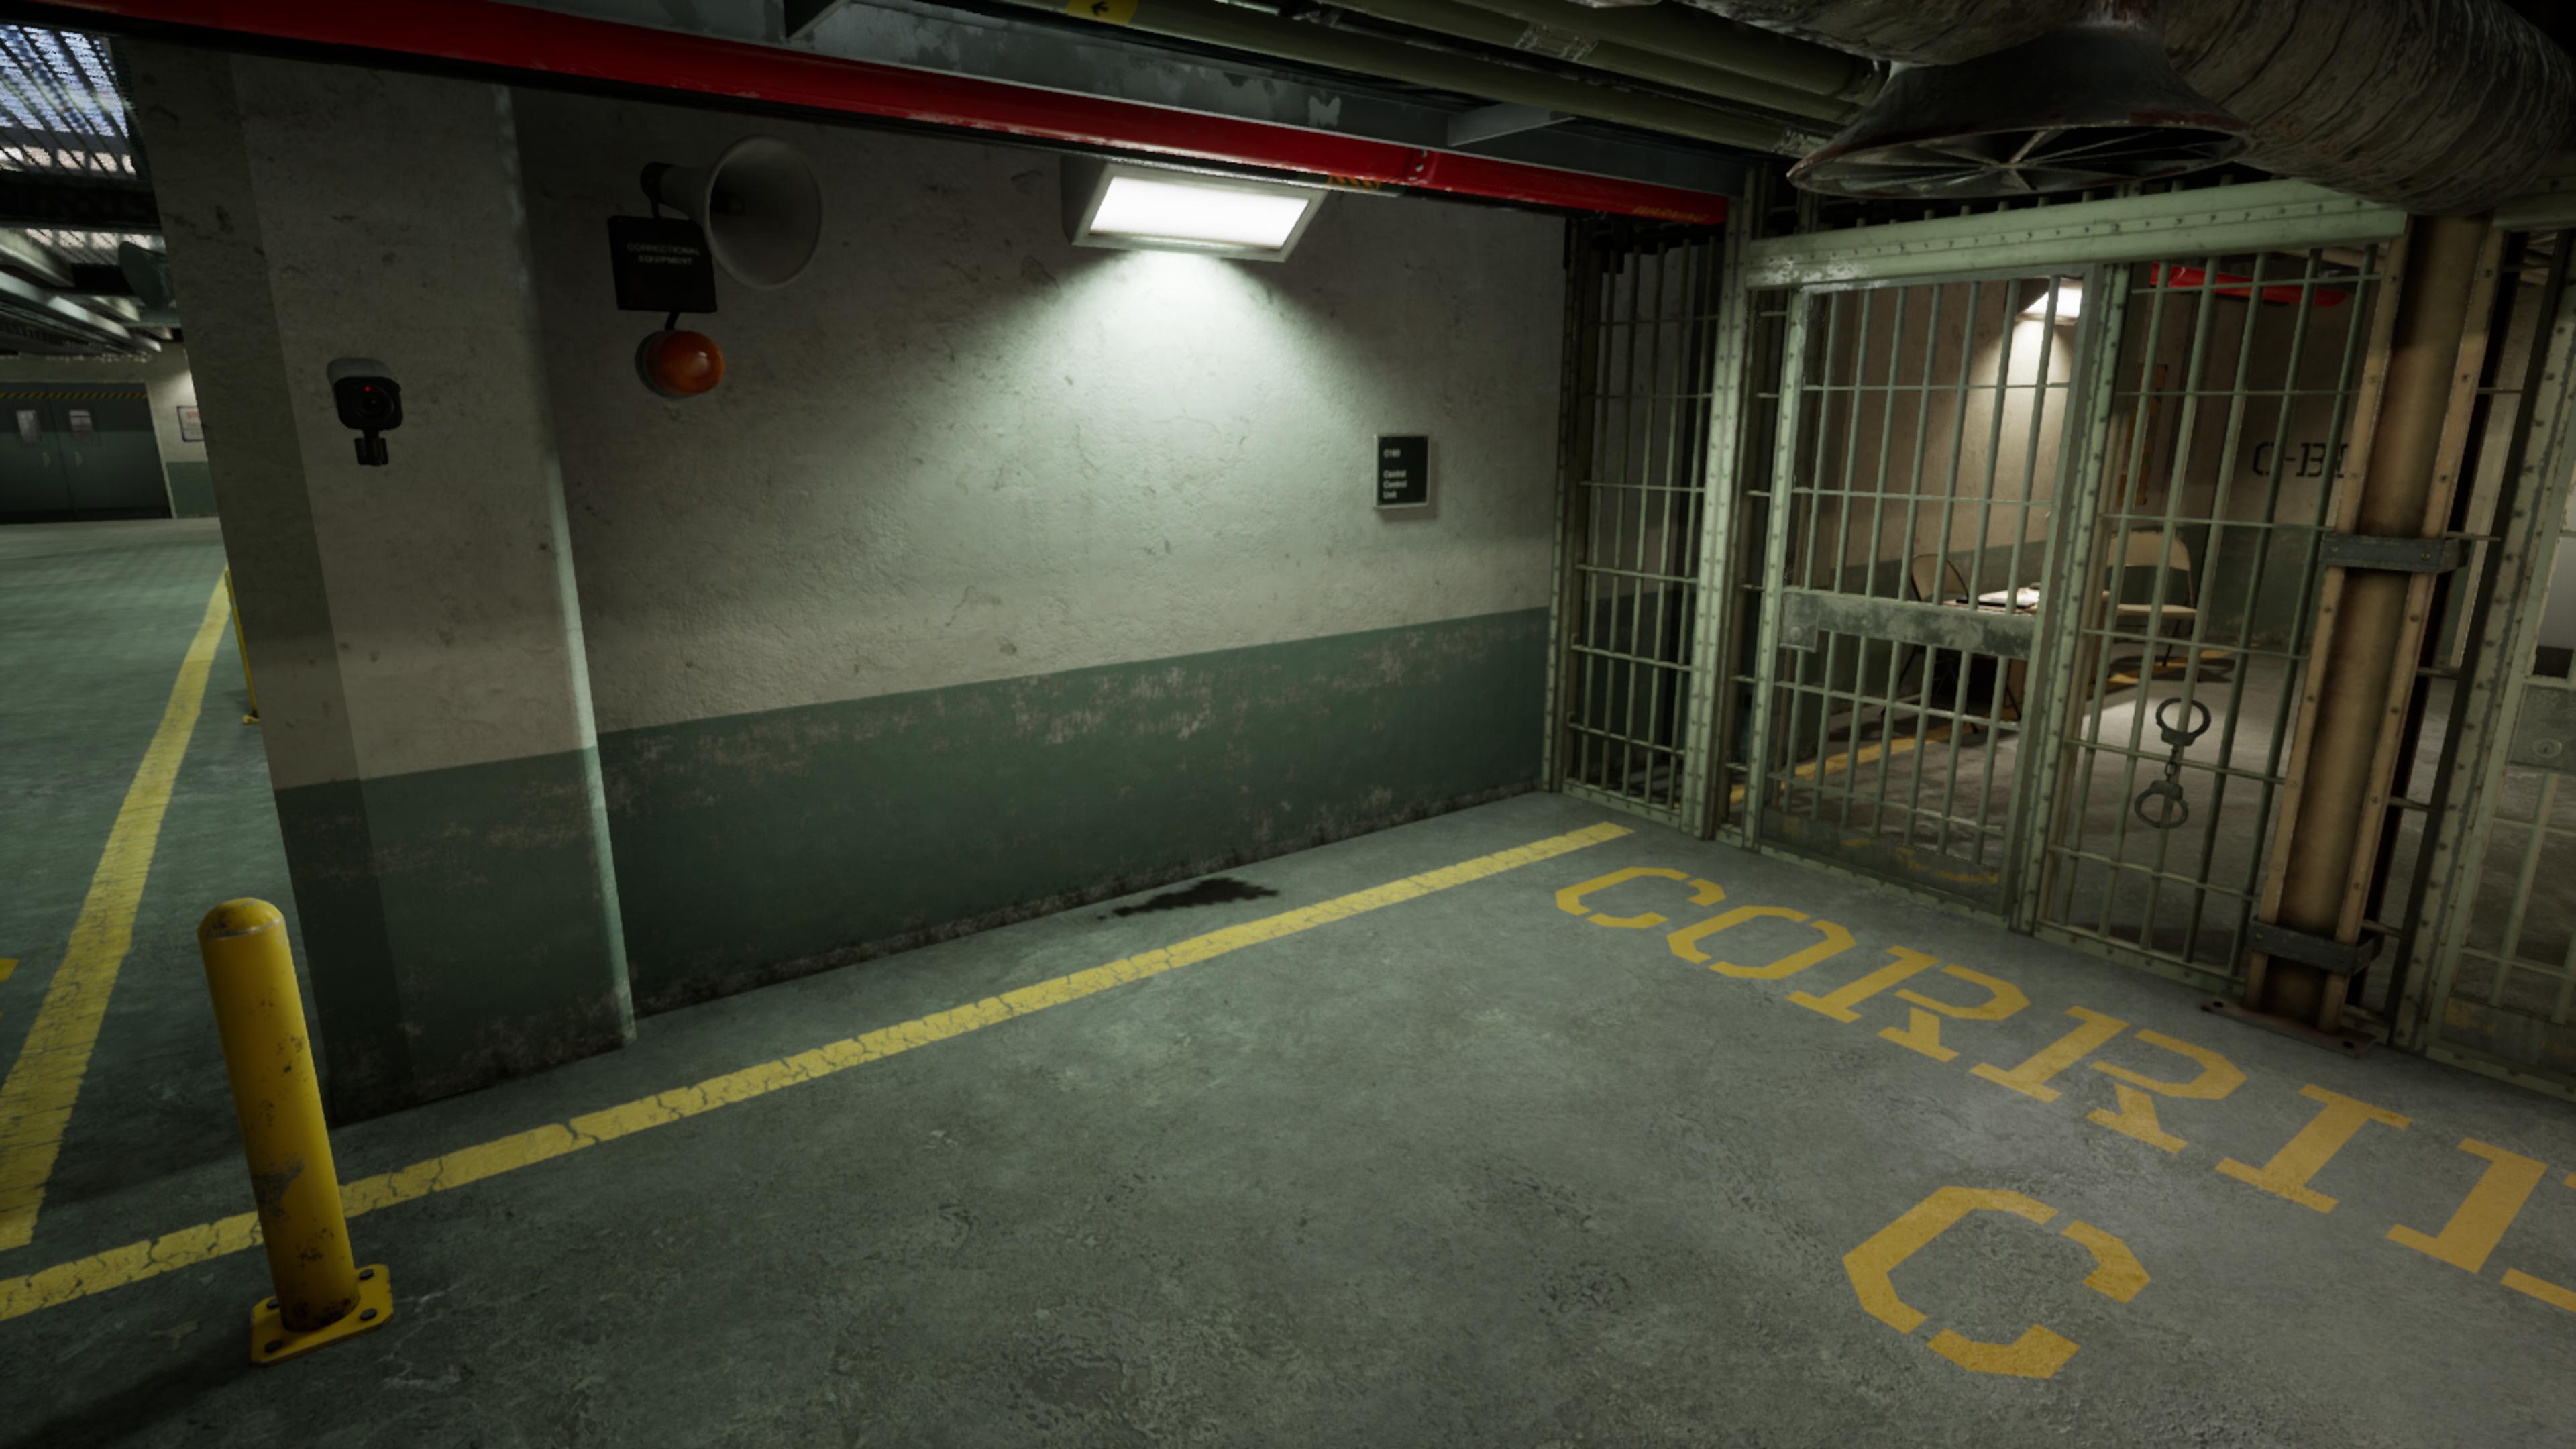
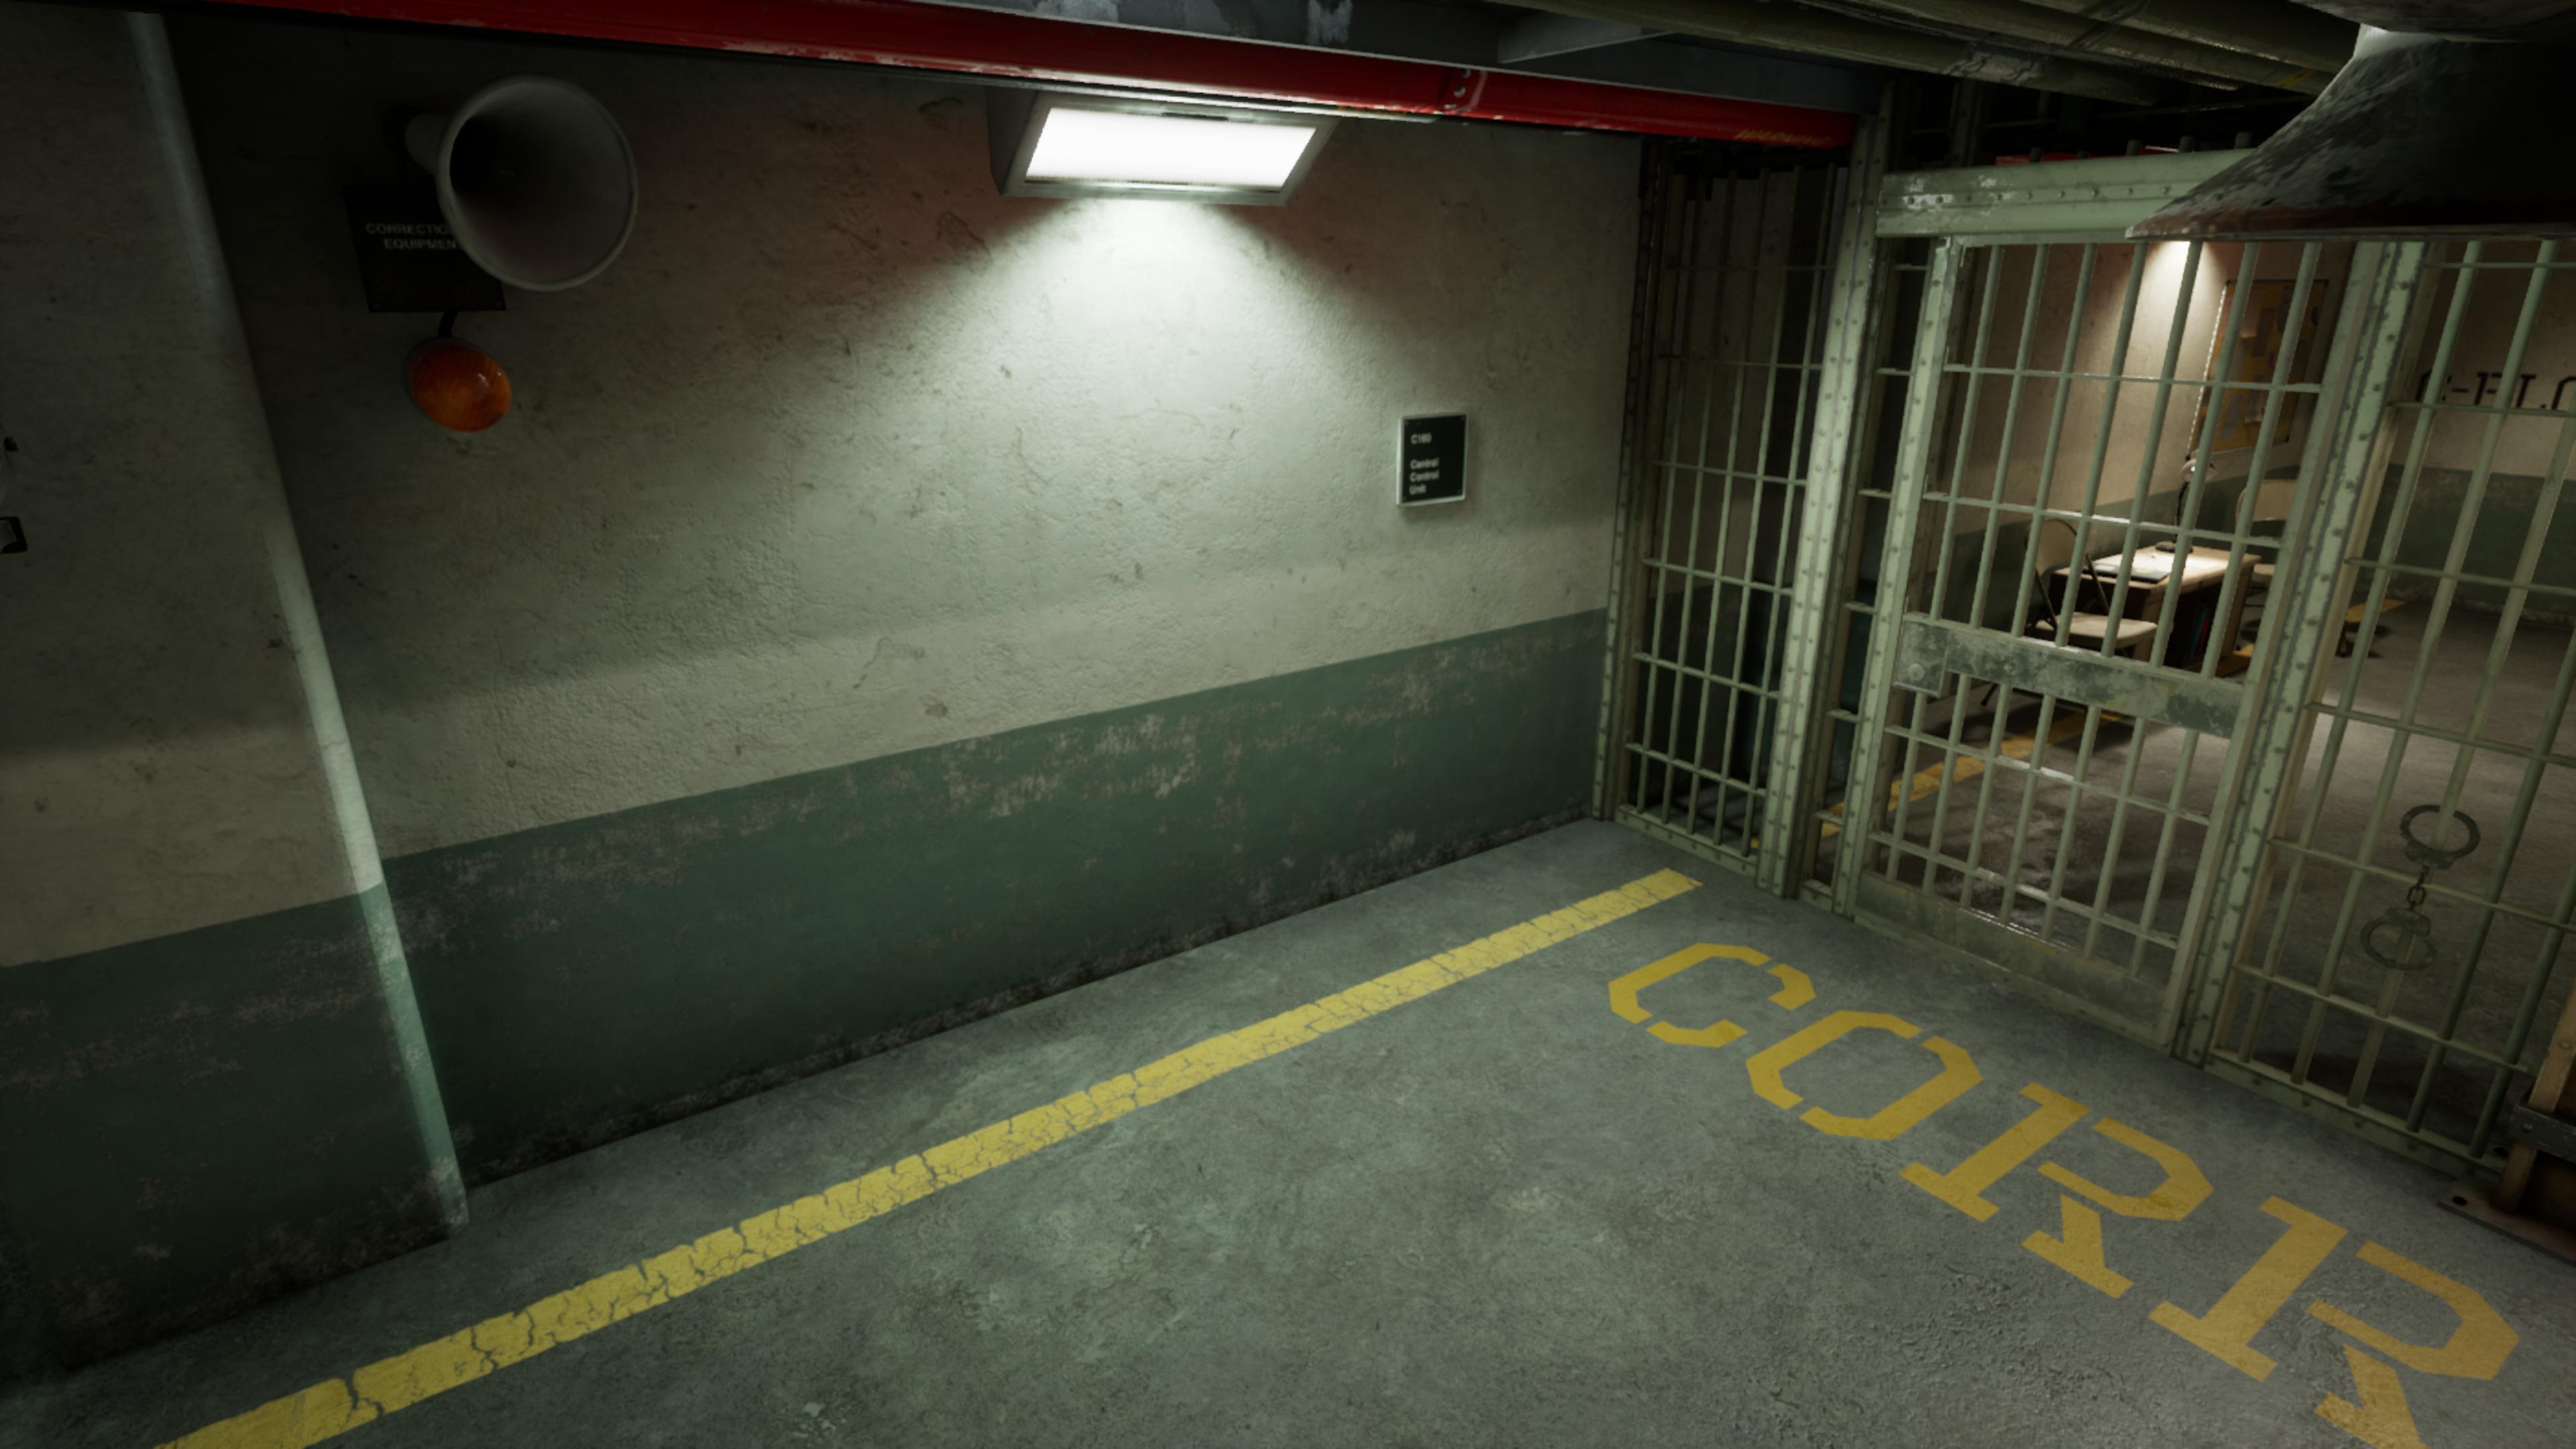
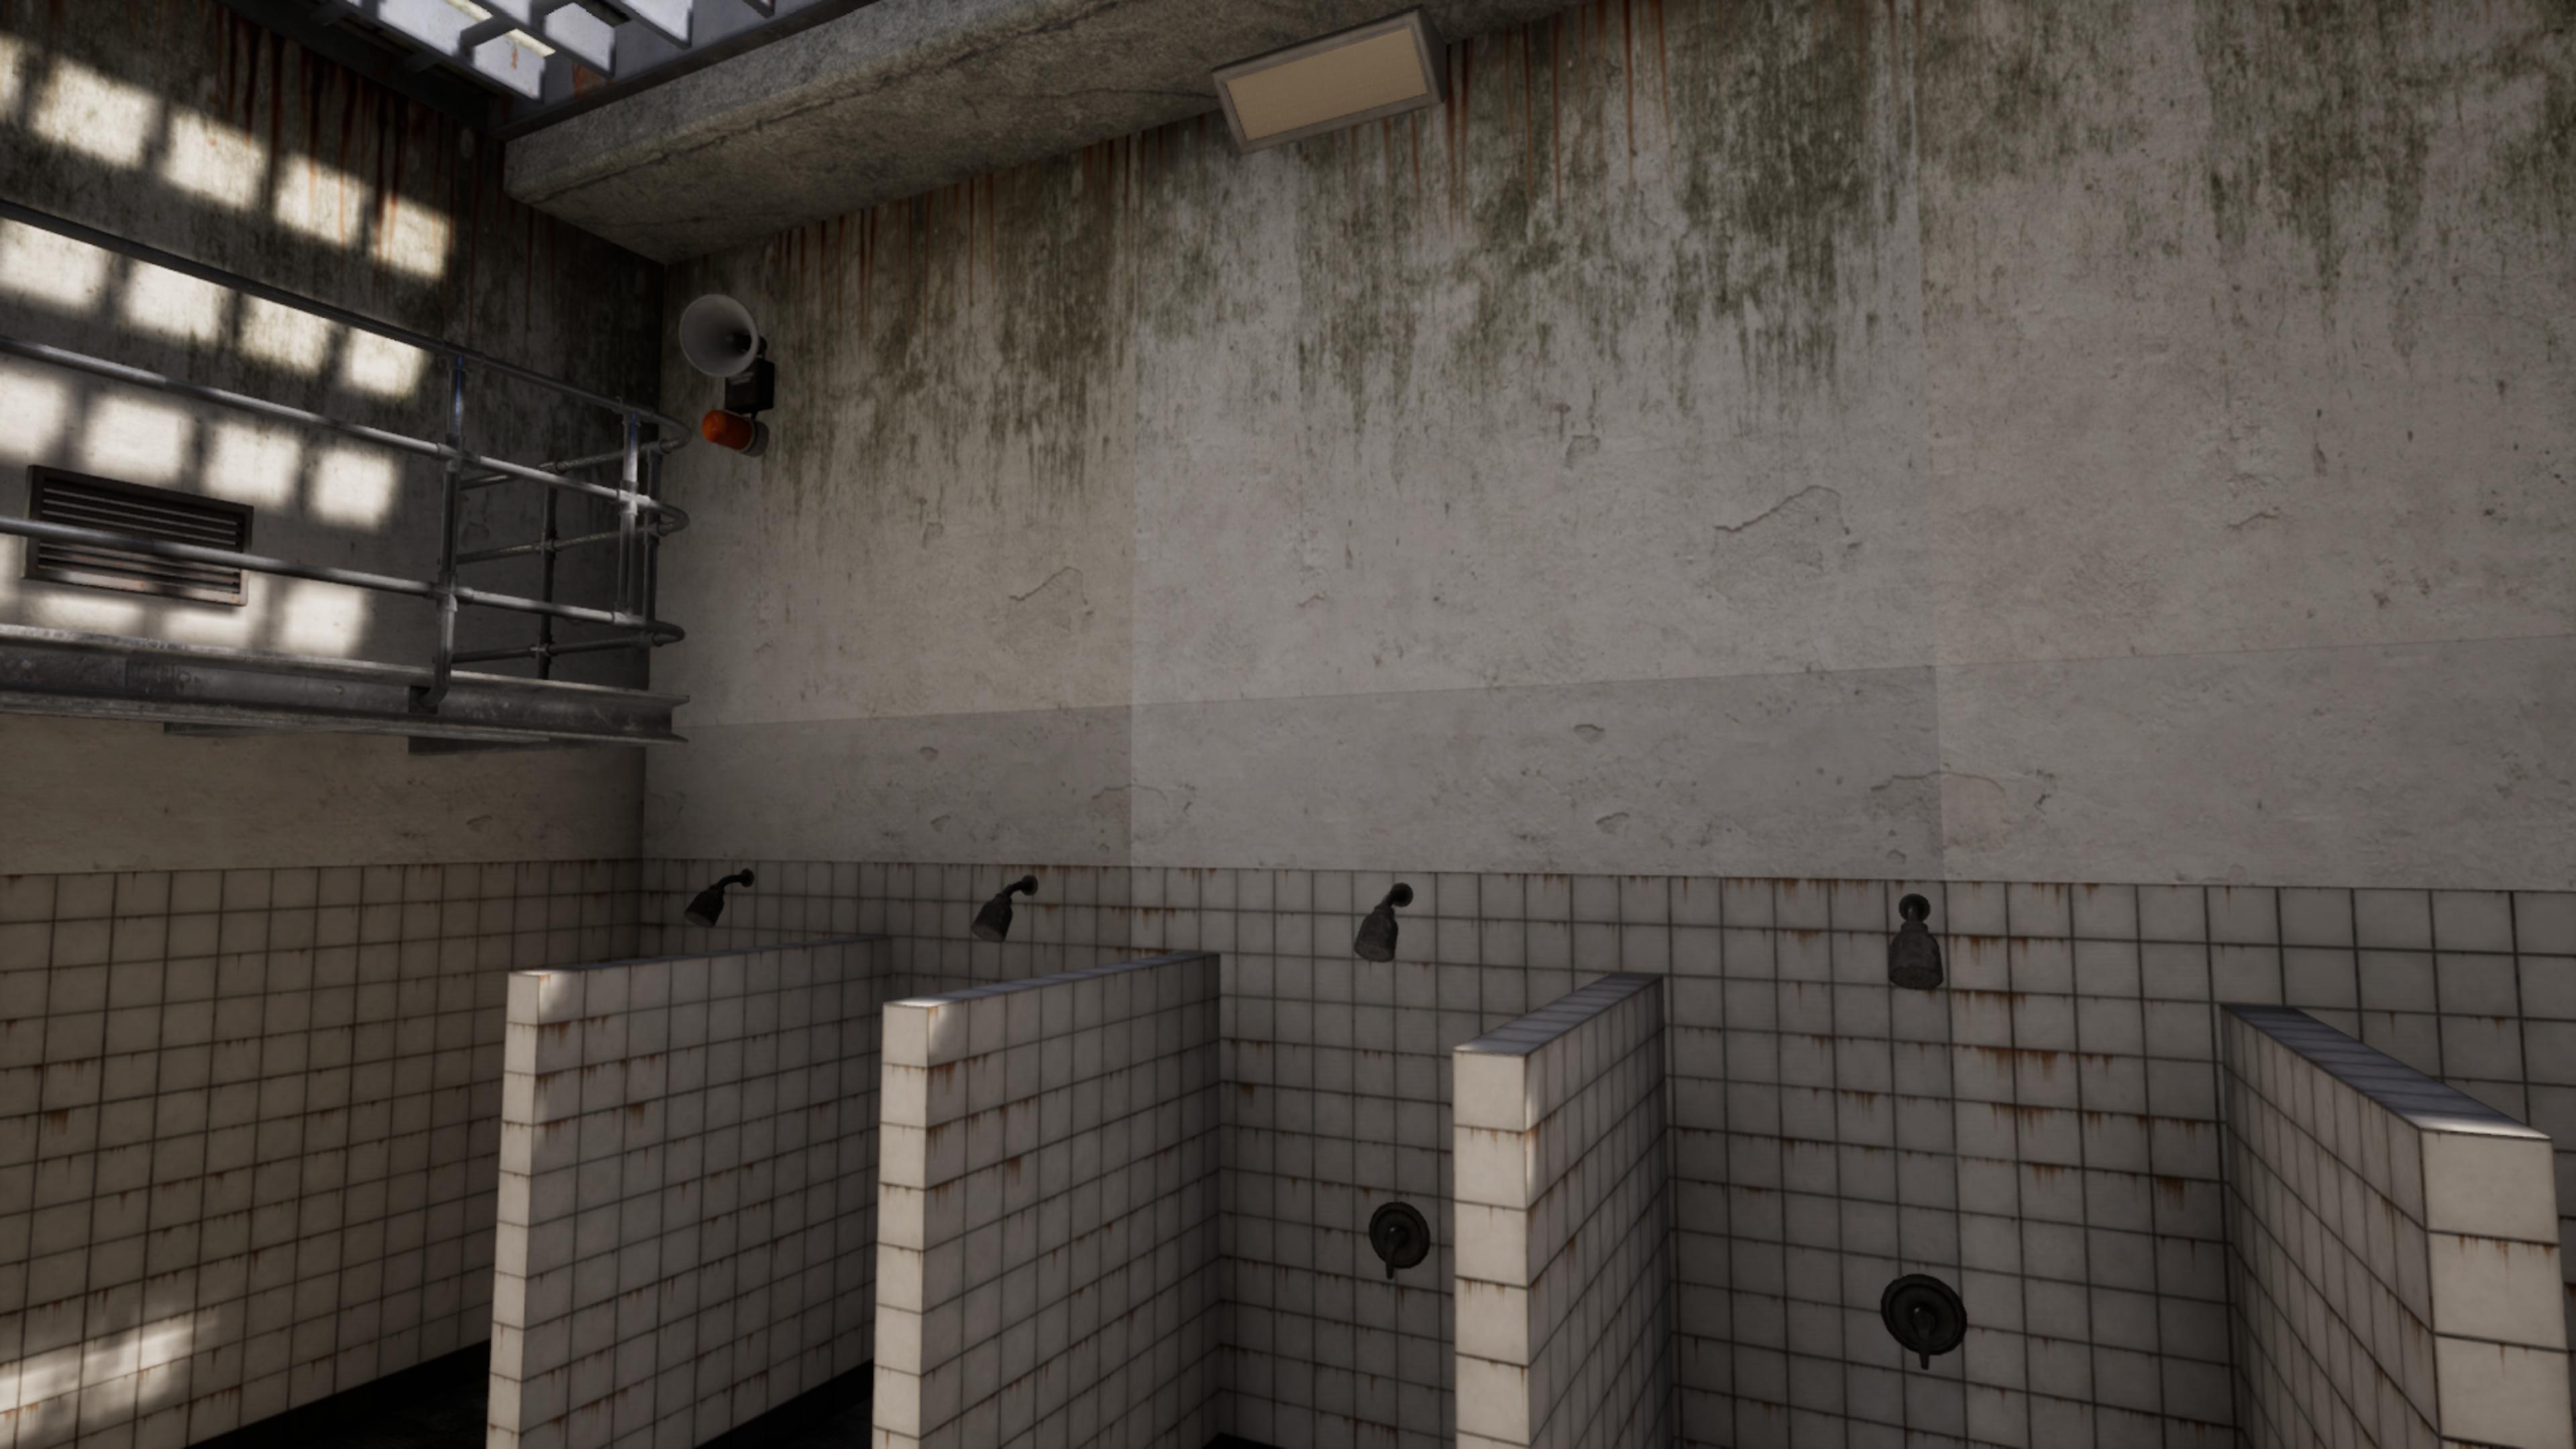
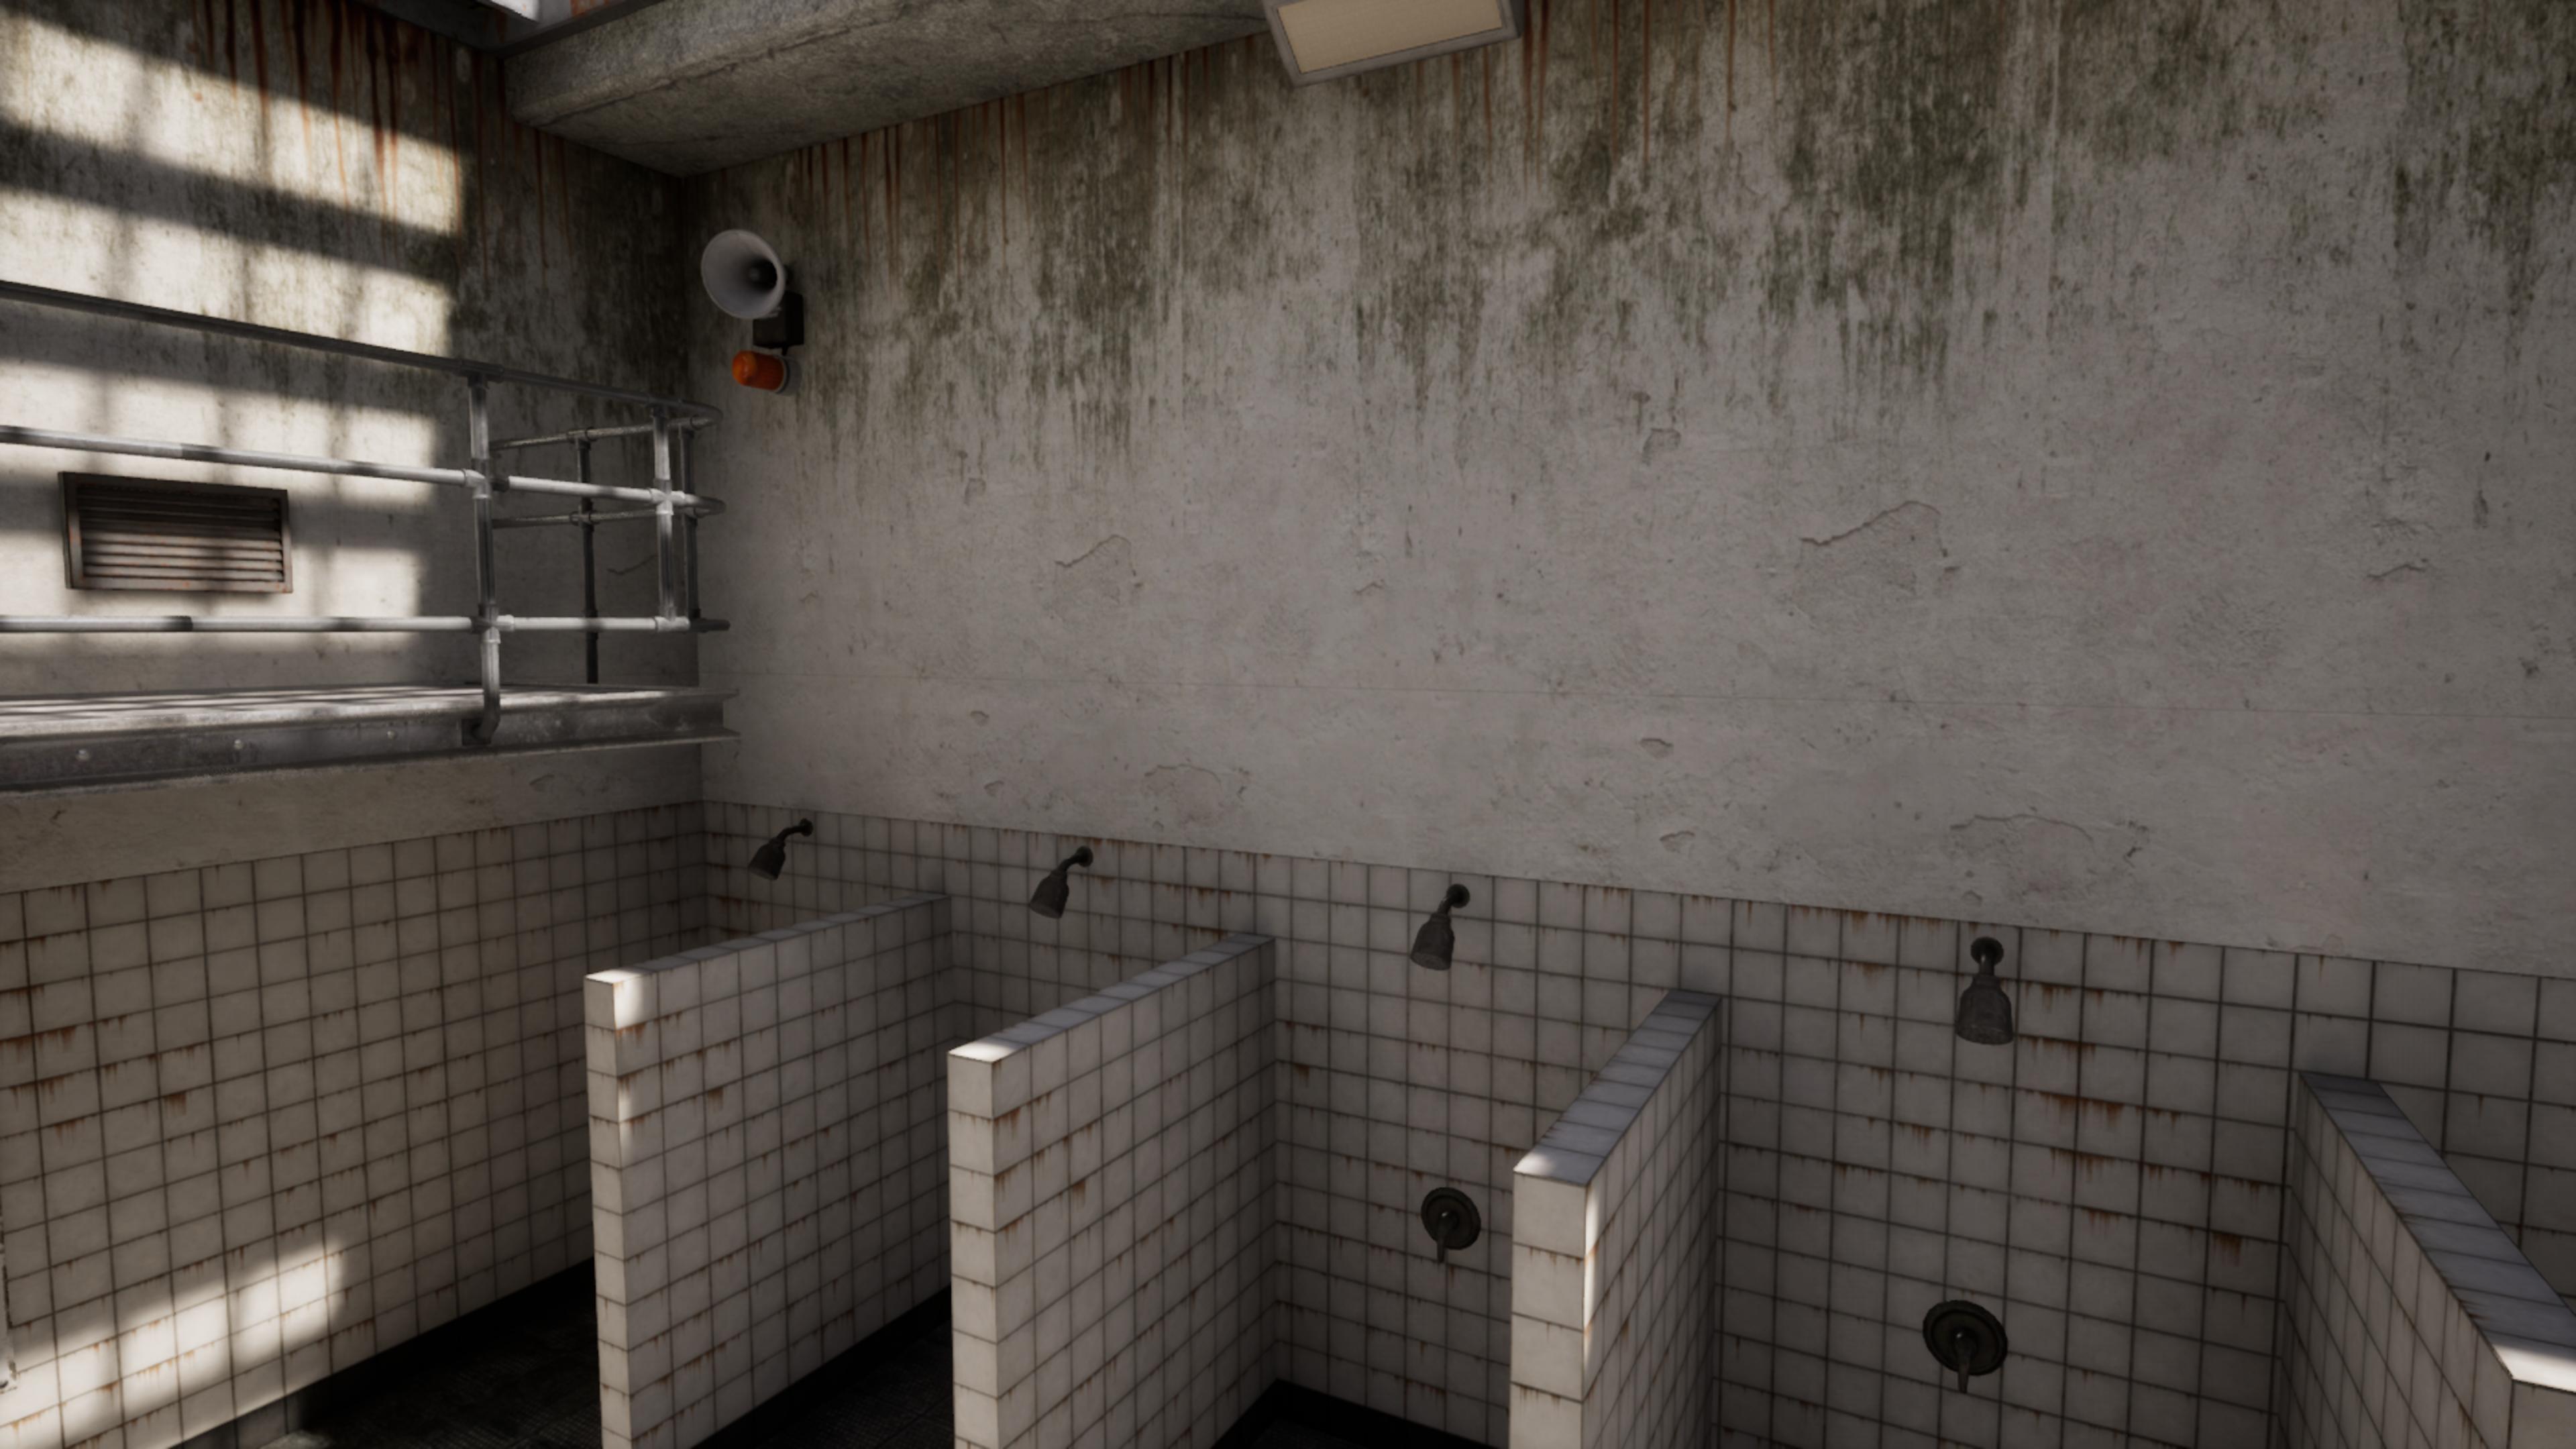
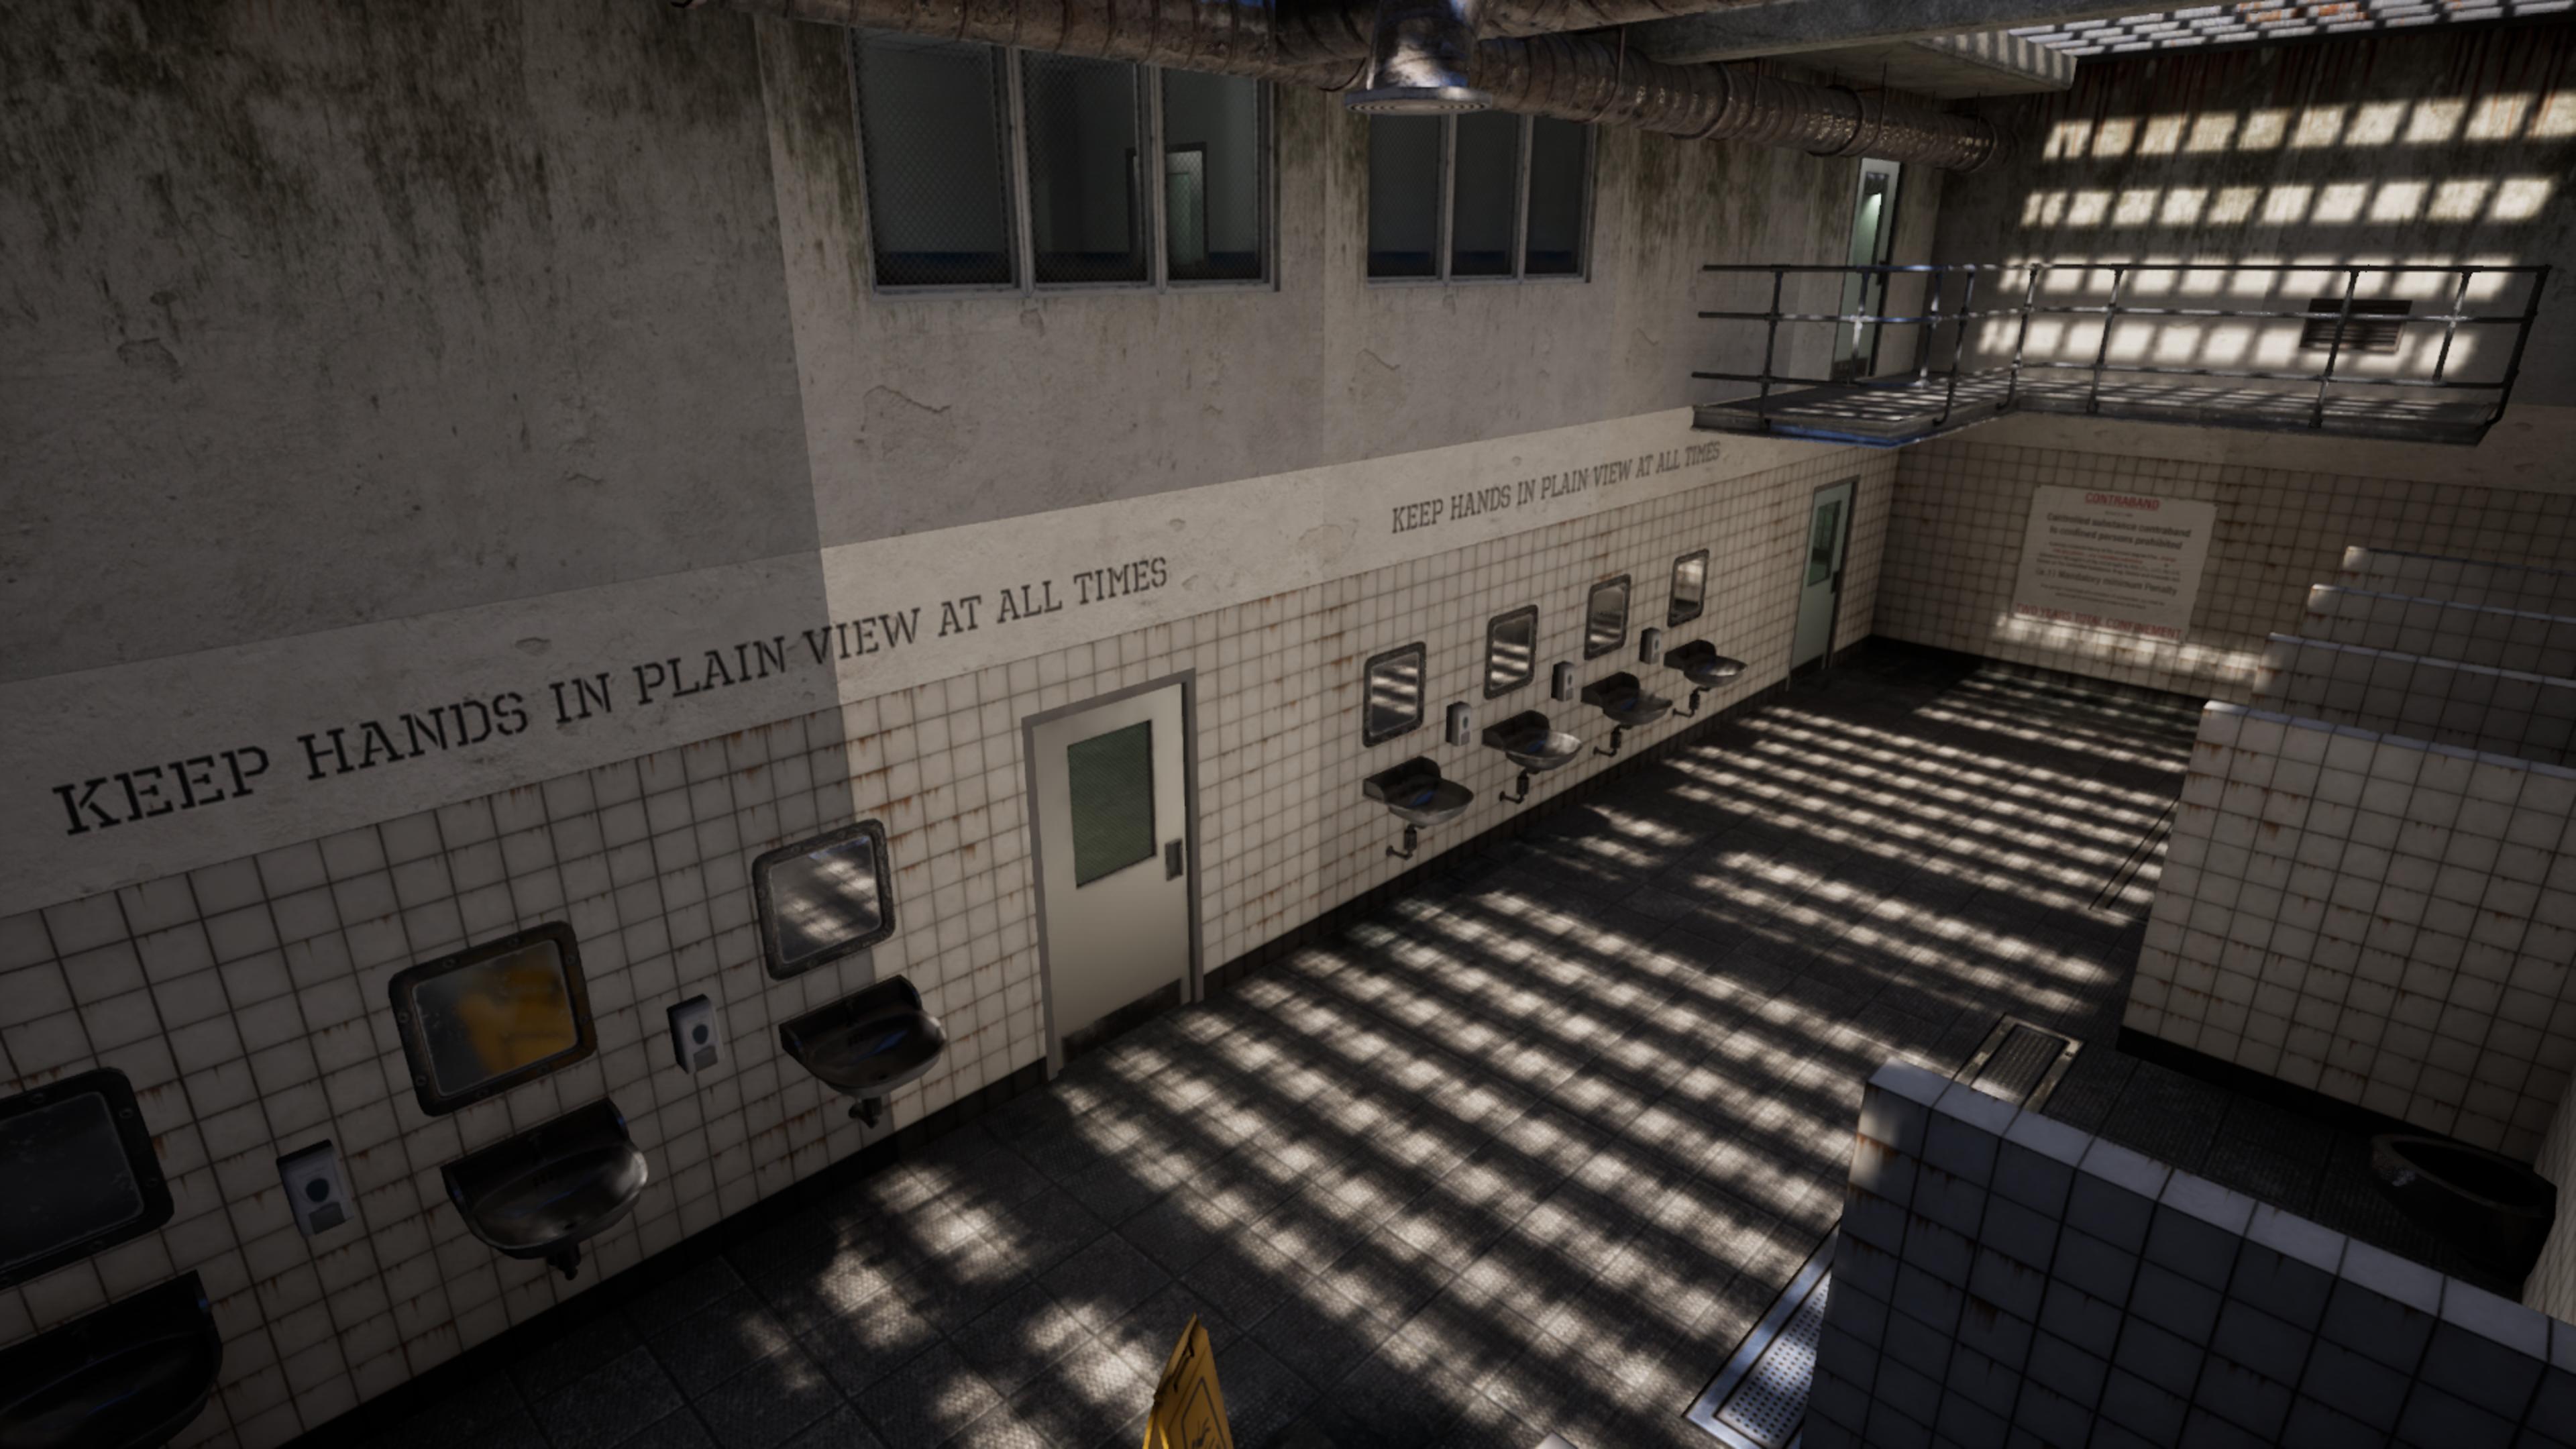
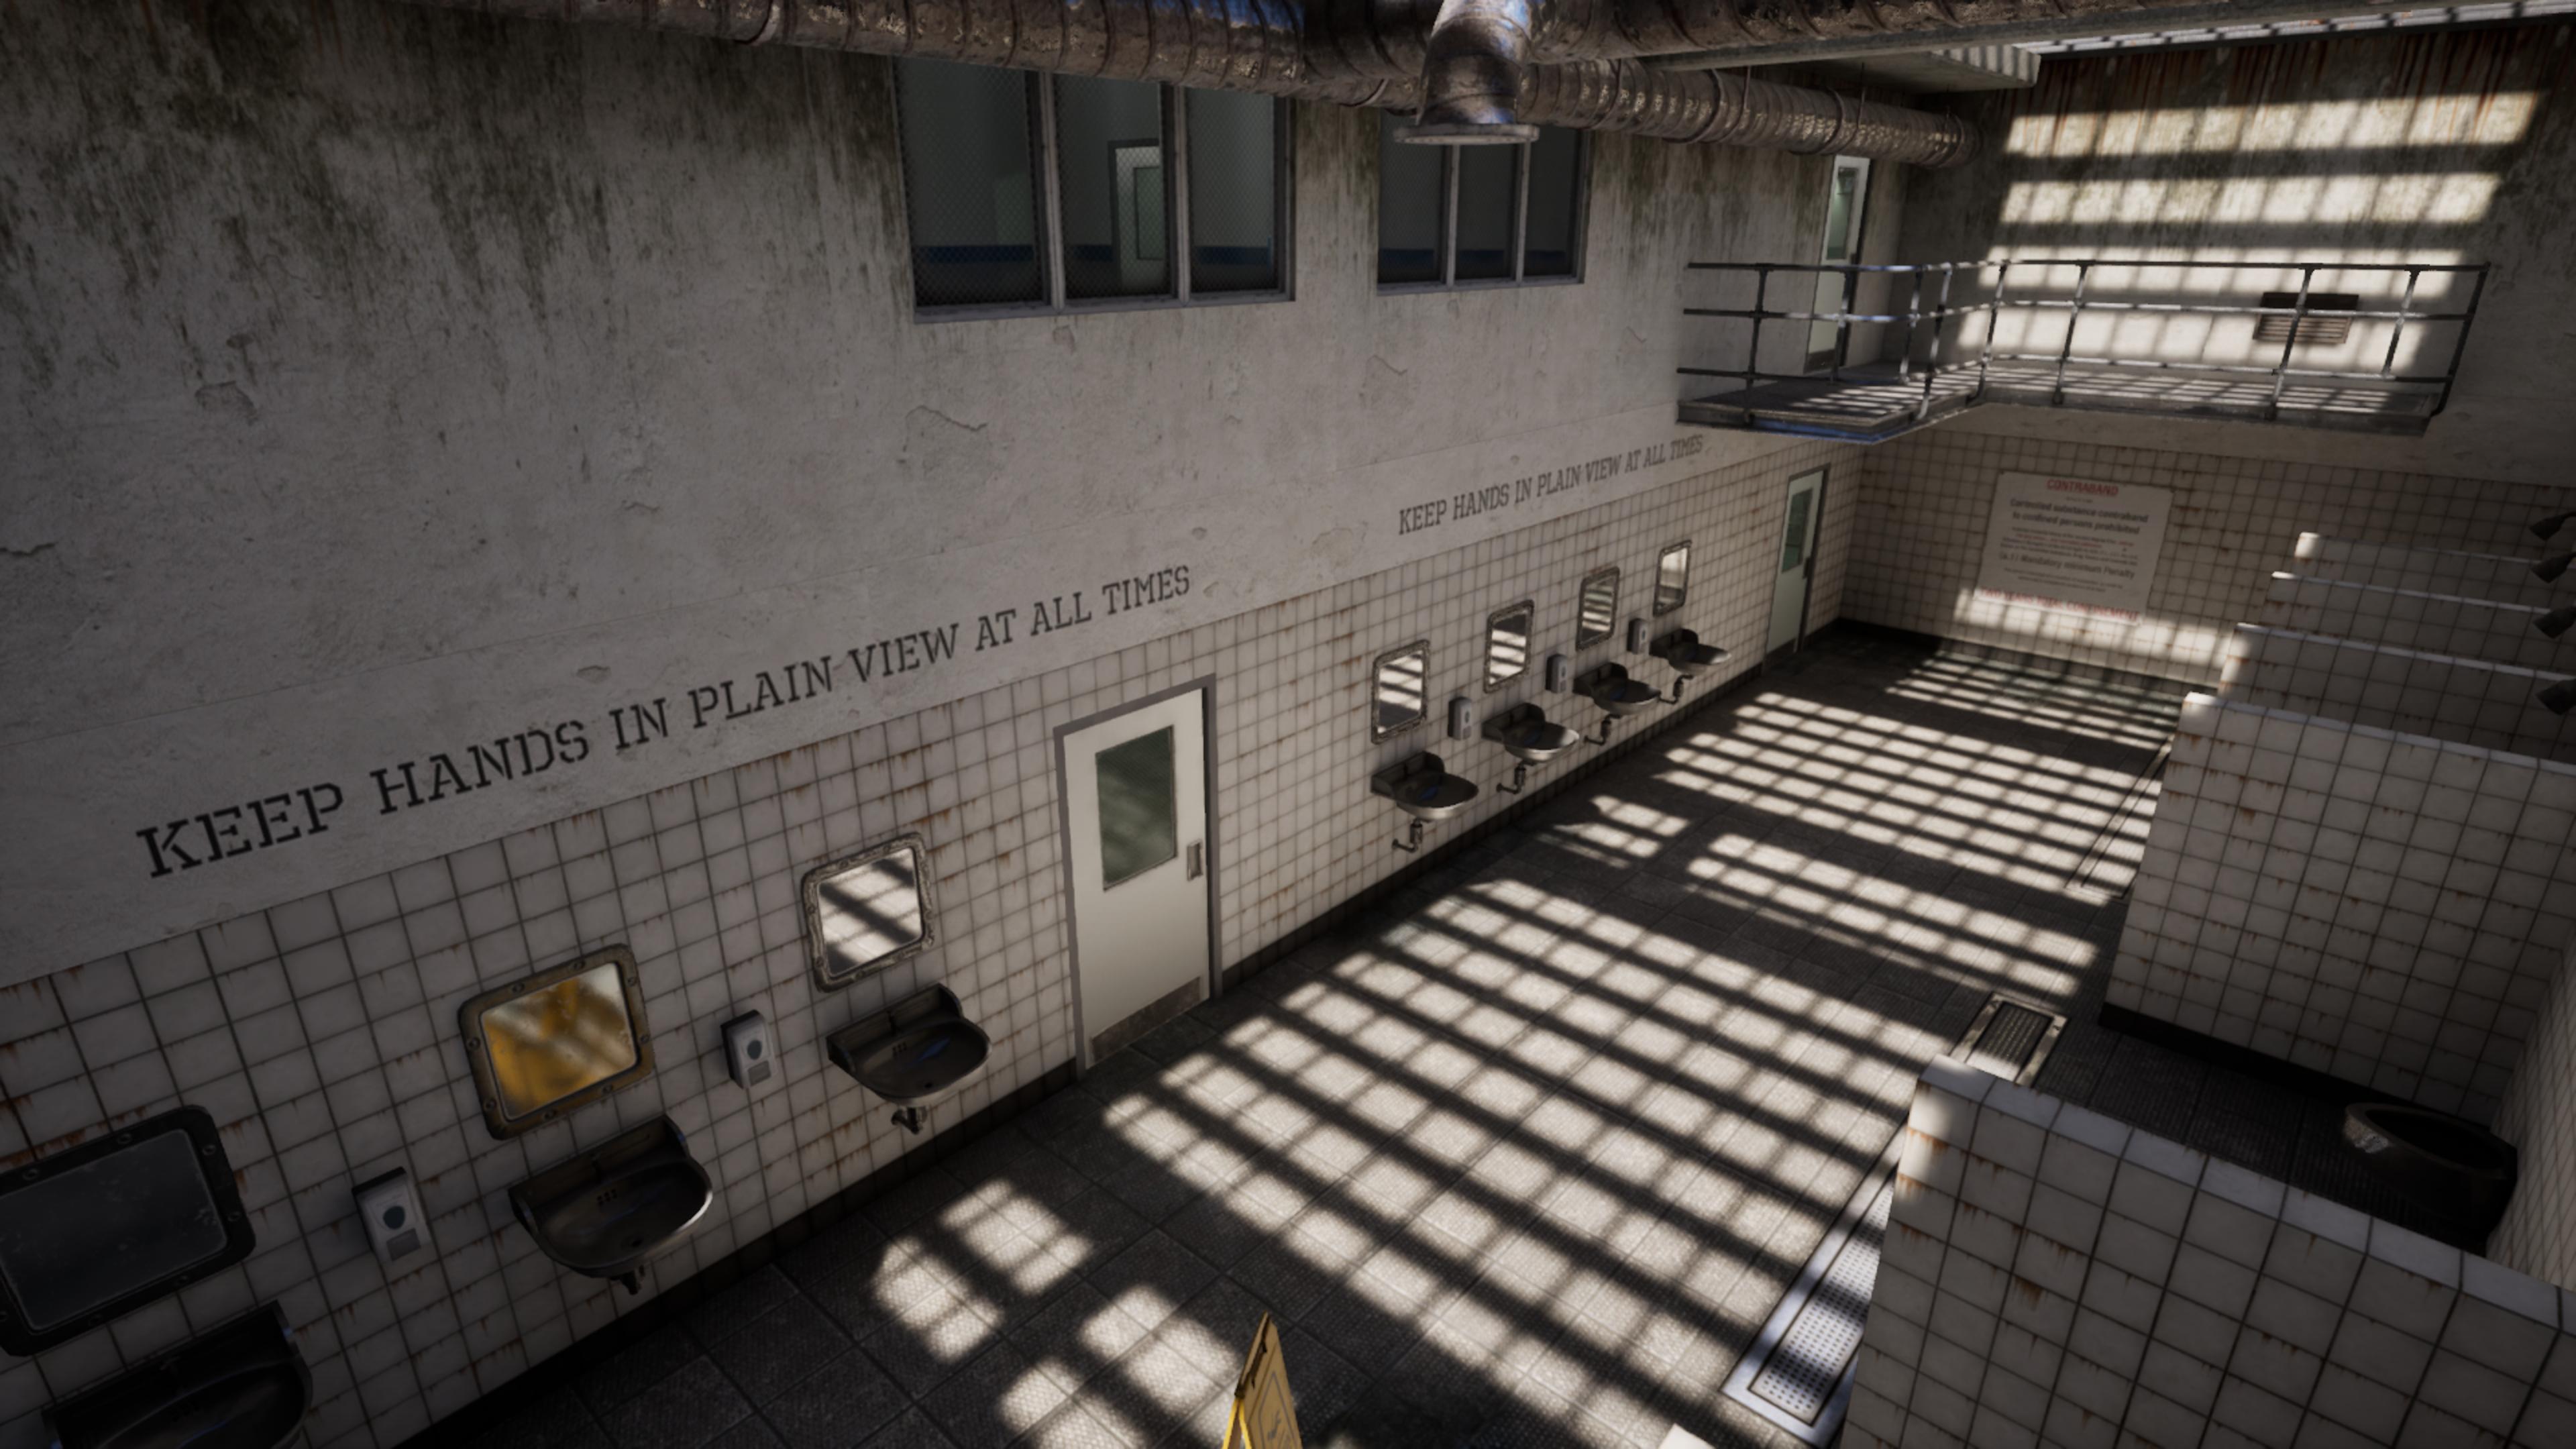
Currently, I’m working on my upcoming title called “MESS”. It’s a multiplayer jailbreak game with a static environment: no lights switching on or off (except flashlight) and no geometry creation/removal on runtime.
This article is not meant to explain all the minor details, but rather share my experience and roughly present what
I did to optimize my game
Initial Setup
I immediately started the project by switching Global Illumination from Lumen to None, Reflections from Lumen to Screen Space, Virtual Shadow Maps to Shadow Maps, disabling Nanite, and switching Anti Aliasing method from TSR to TAA.
With this setup, all the environment that I was making was only relying on static lighting and reflection captures. For the first few weeks of development, I was relying on preview CPU bake. It was giving great results for a 30-second bake; I don’t think that any play-tester even noticed that shadows were low quality.

Default RHI
With just that, I already was getting around 250 FPS in native full HD on a RTX 3060. I was still GPU bound client-side at the time. Listen server-side, however, I was CPU bound in case I got multiple players on the server. I’ll talk about some networking optimization I’ve done so far towards the end.
To optimize GPU further, I also switched from DirectX 12 to DirectX 11. DX12 presents a lot of cool features for complex things that I didn’t use in my project, so all the overhead that it had to perform to support those was hurting my performance. Simply switching the default RHI to DX11 improved my performance in the main menu from around 4.4ms to 3.1ms, which results in almost 100 FPS boost on those numbers.
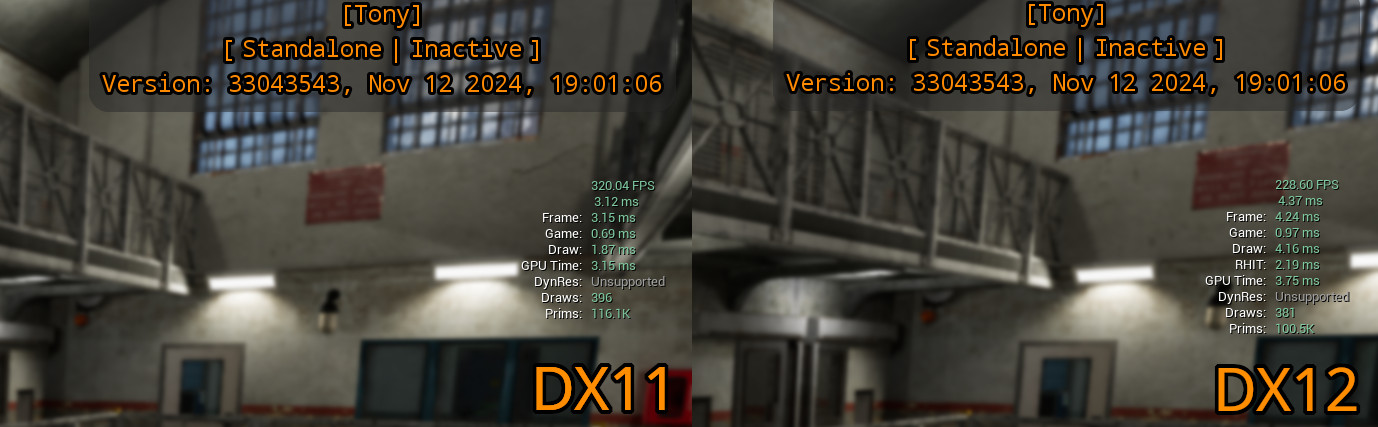
I didn’t make any other profiling; this was enough to convince me that I would benefit from DX11. My main menu uses the same map I’m using in the actual gameplay, so I imagine that the boost would be very similar, if not equal.
Support for potato PCs
At that point in time, we already went through multiple play tests during which I could gather some profiling data along the way. The worst GPU a player had was a GT 1030, and it was performing at 40–60 FPS depending on the environment the player was in. That player was playing in native full HD resolution with no changes to the settings whatsoever; at that point I was focused on the gameplay rather that settings like that, in fact, the game was already performing very good on all the devices we had so far.
I decided to push further and find out how else I could improve that for the sake of optimization. After reading
some more
documentation,
I found out that I can move the RHI computations on a different thread using r.RHIThread.Enable 1. The
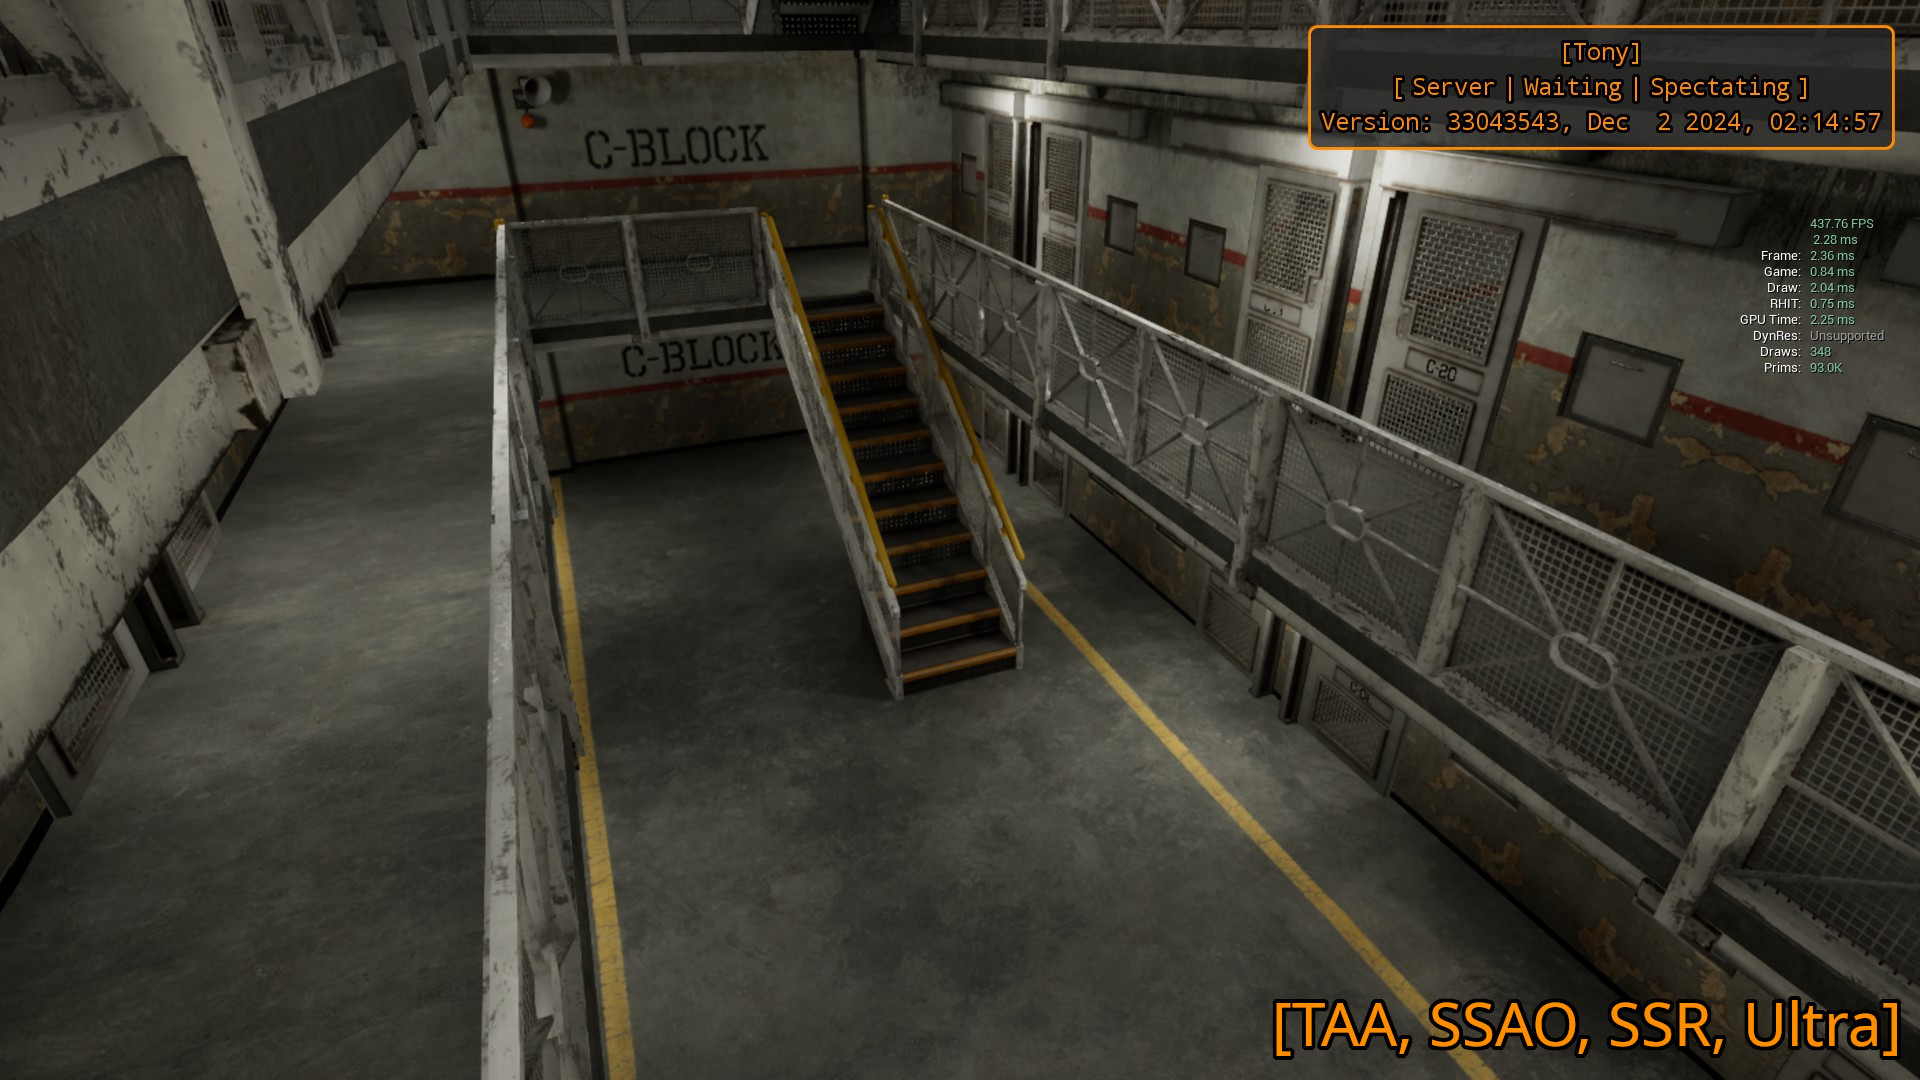
game did benefit from that. The gain is dependent on a context; here are two comparisons between with
r.RHIThread. Enable 1 and r.RHIThread.Enable 0 (1 has the RHIT on the right side, and 0 does not)
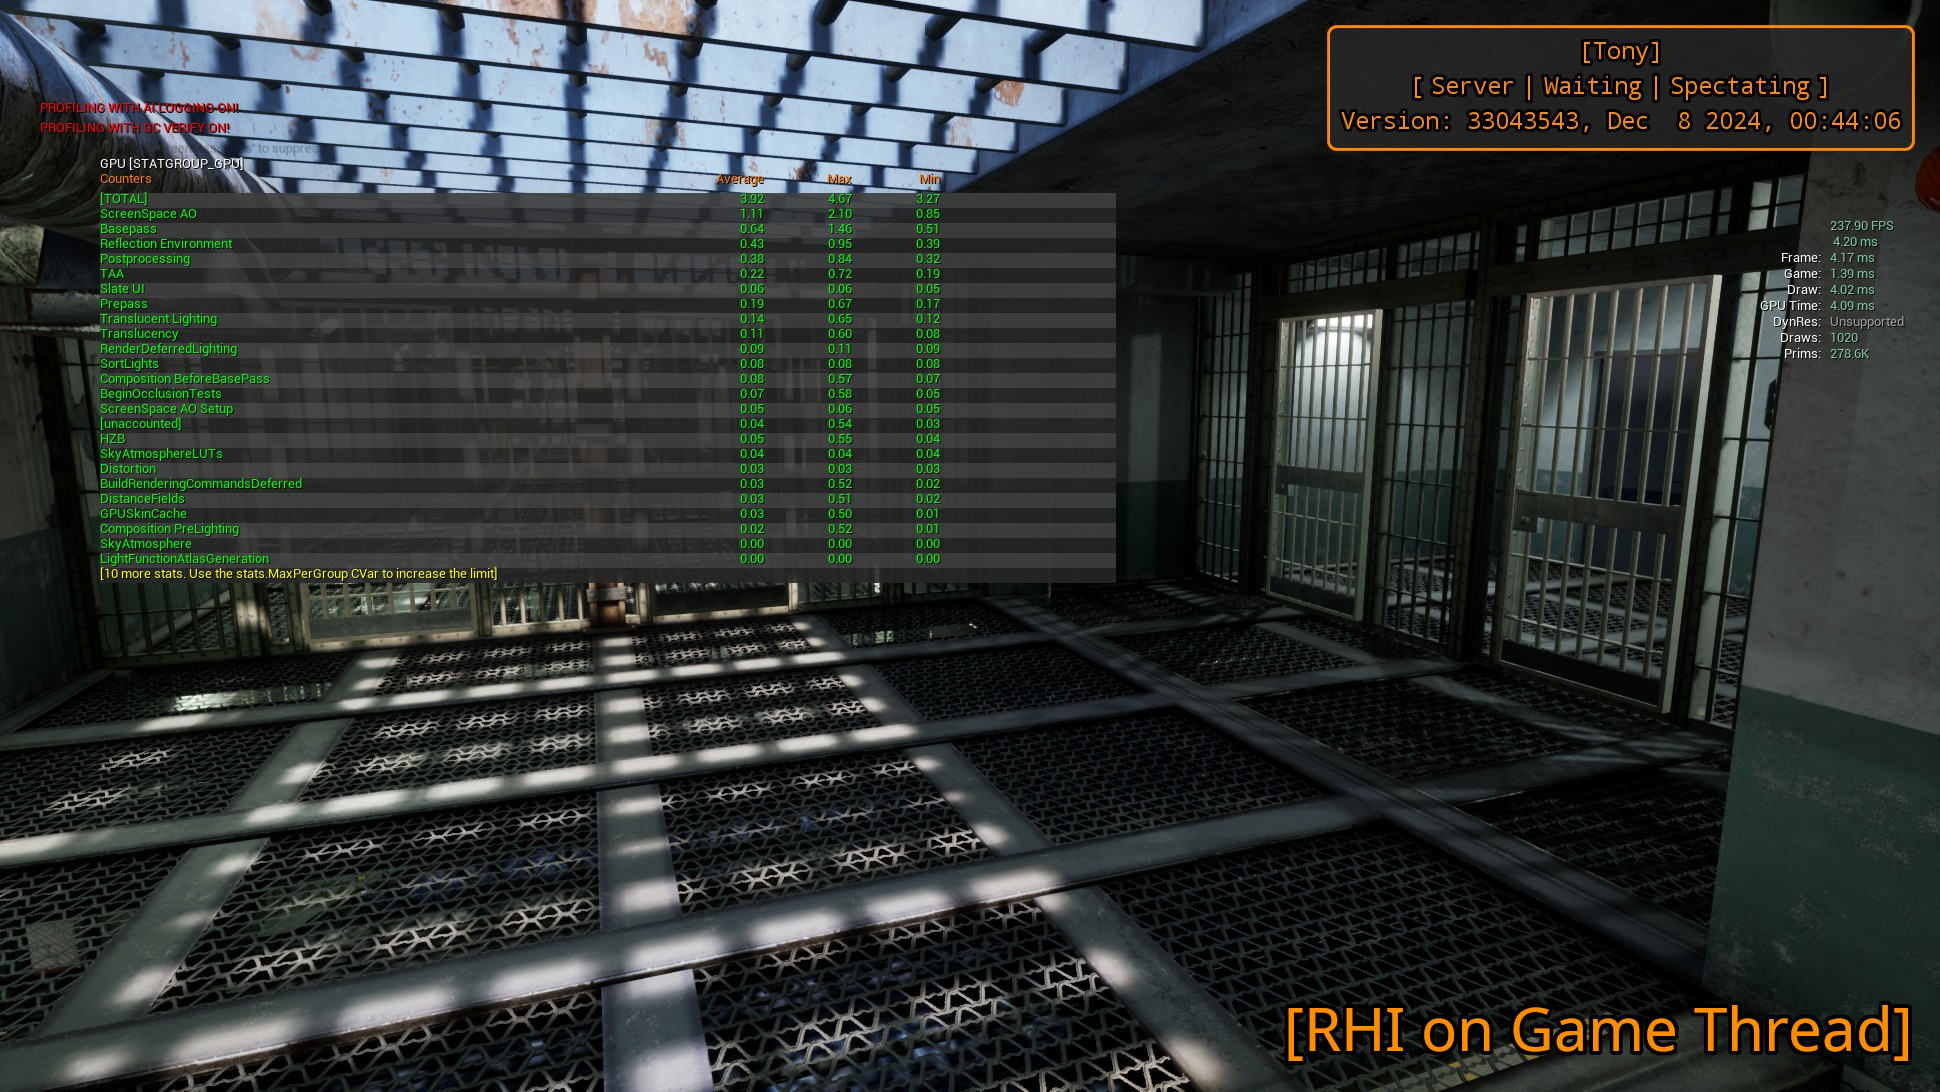
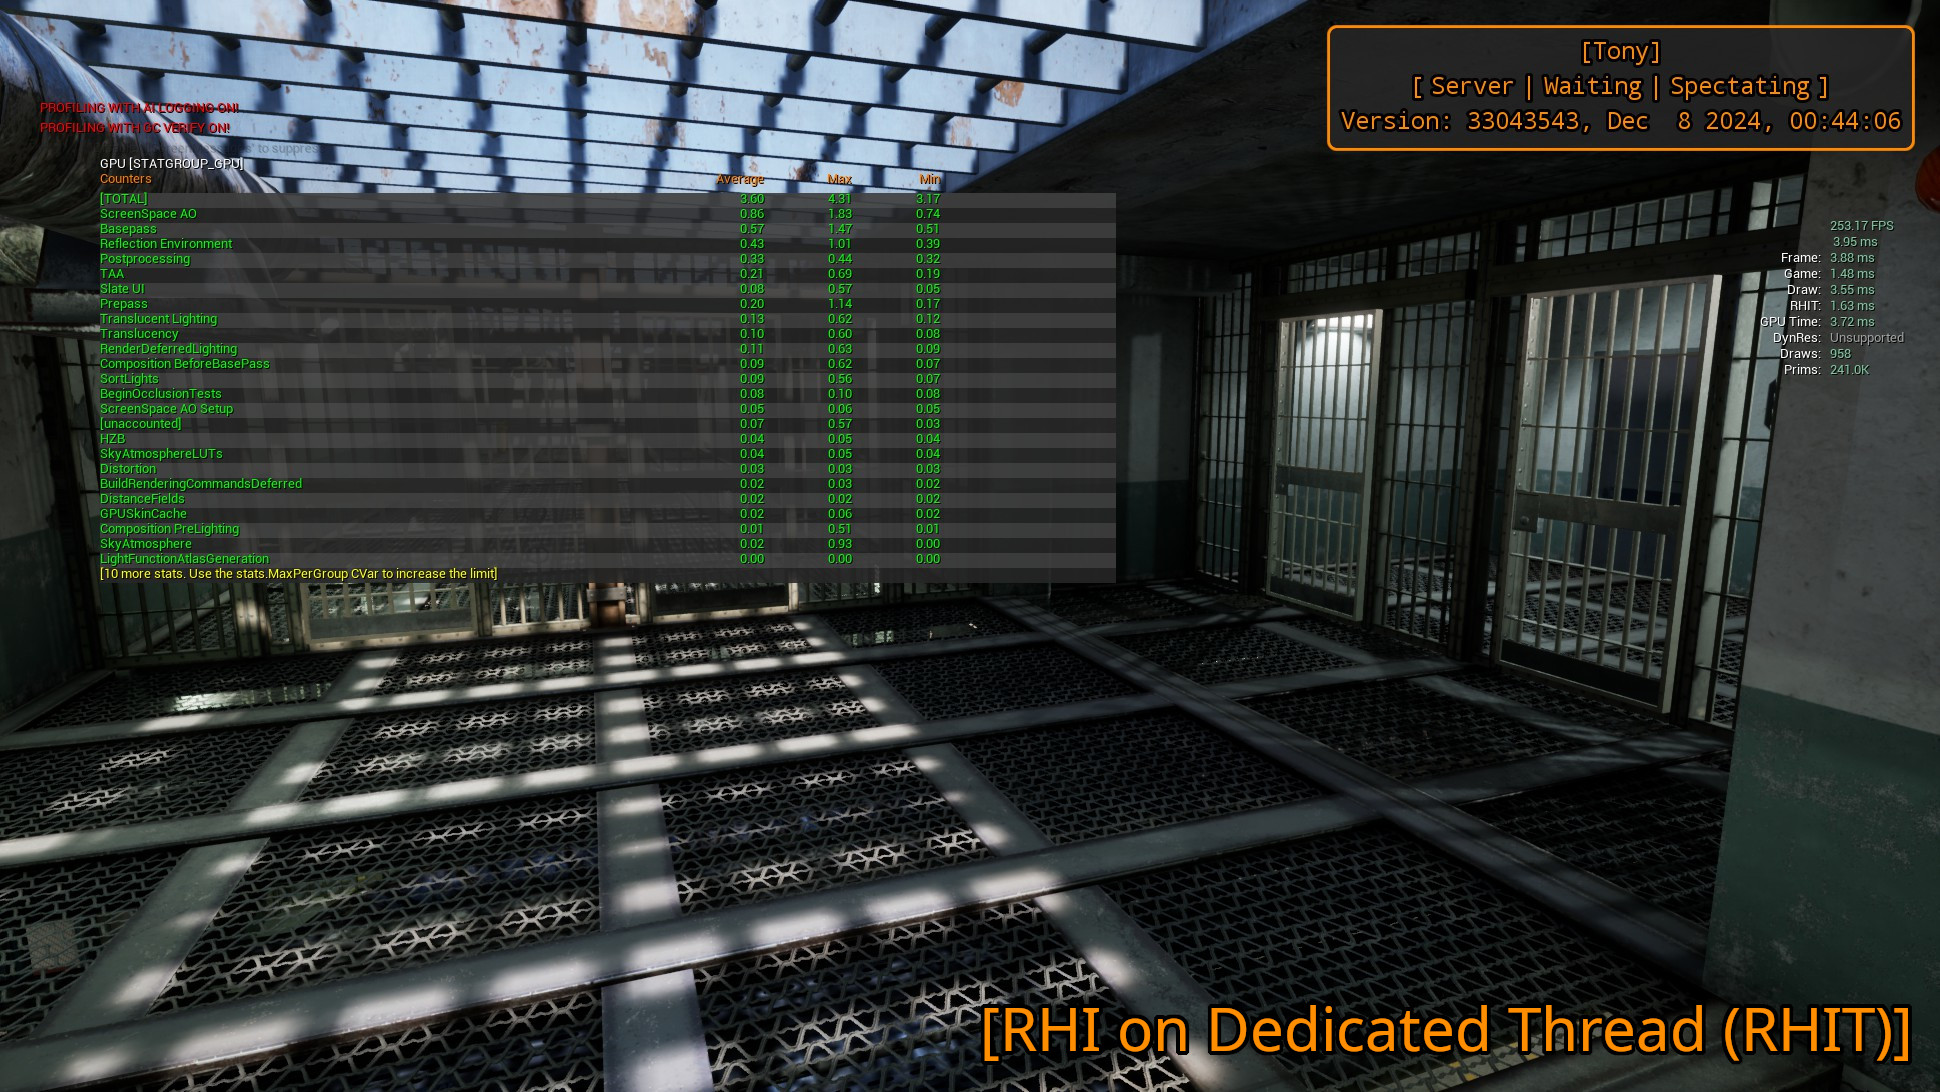
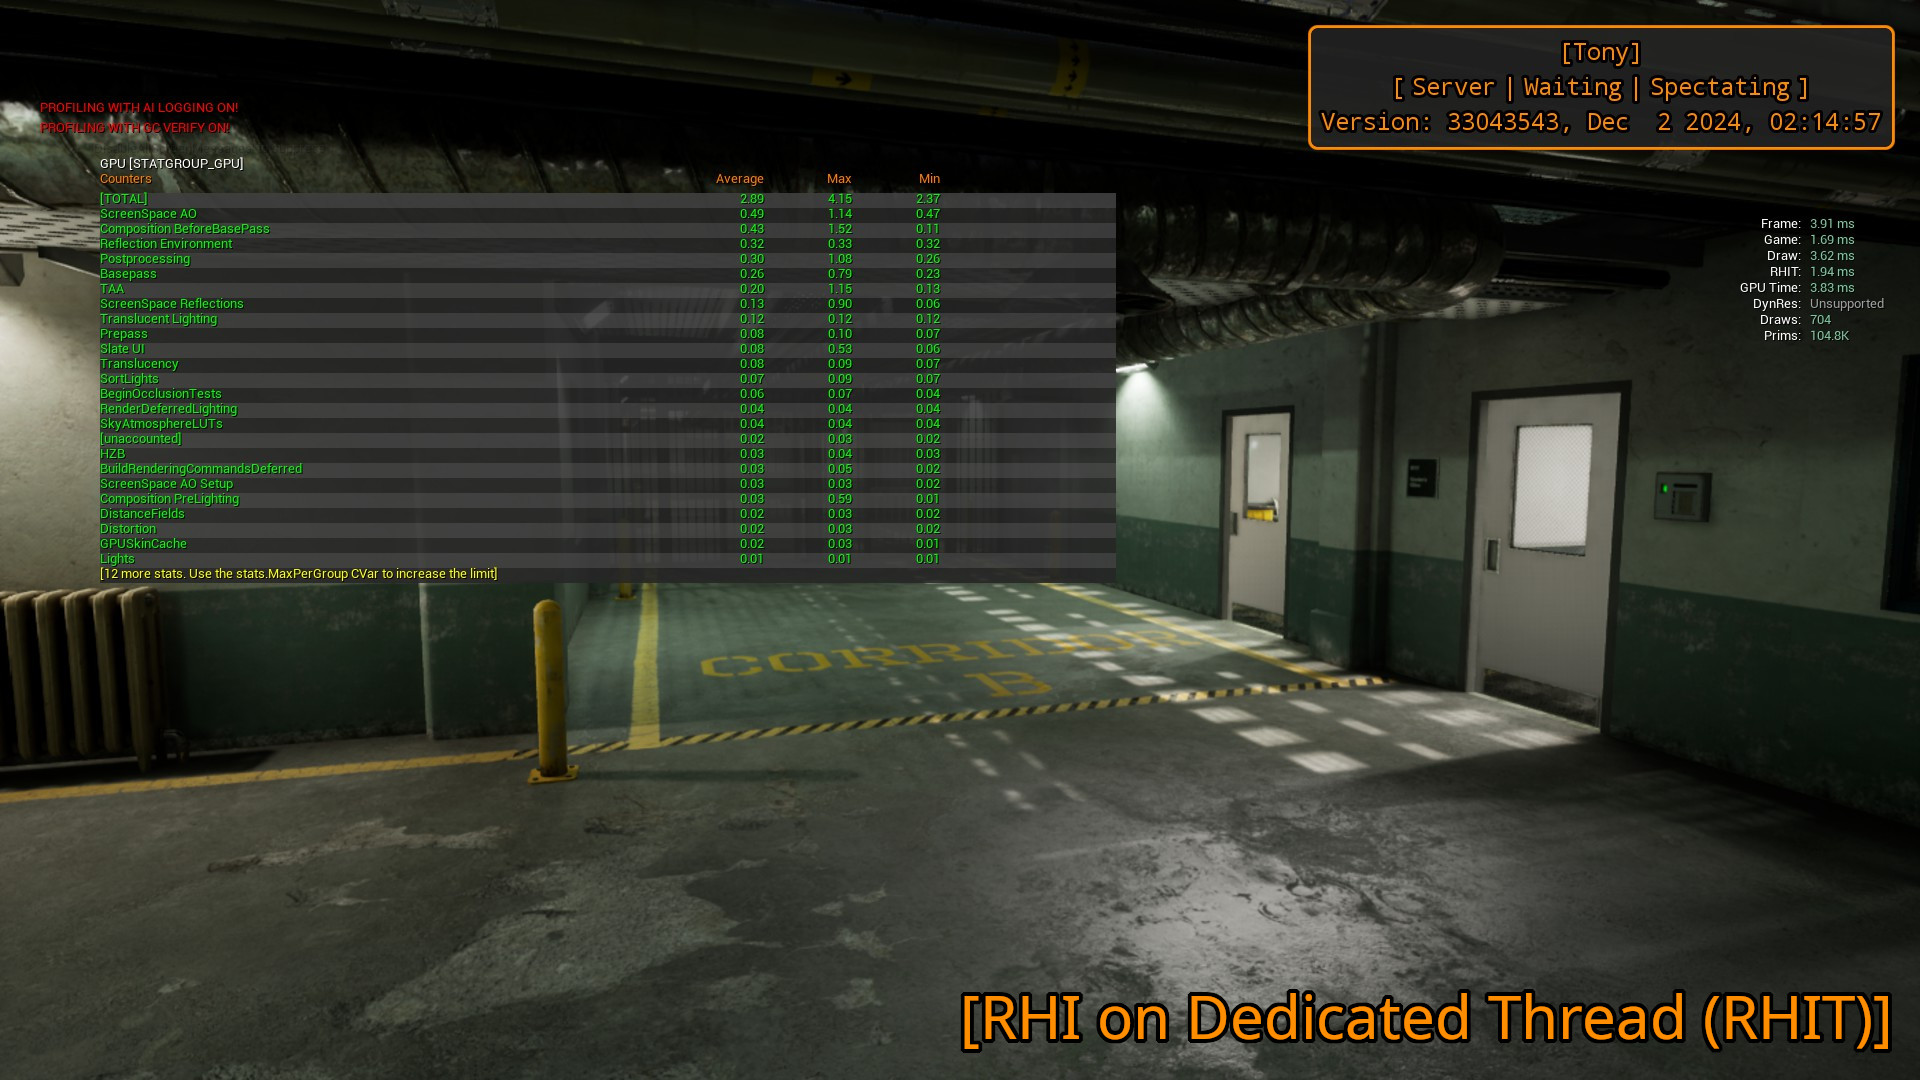
In the first example, the boost is around 0.25ms, whereas in the second one it’s around 0.8ms!
From my understanding, that setting is not going to necessarily help on older CPU, so I exposed that as checkbox in the settings menu with a little tool tip for players that don’t understand what that is.
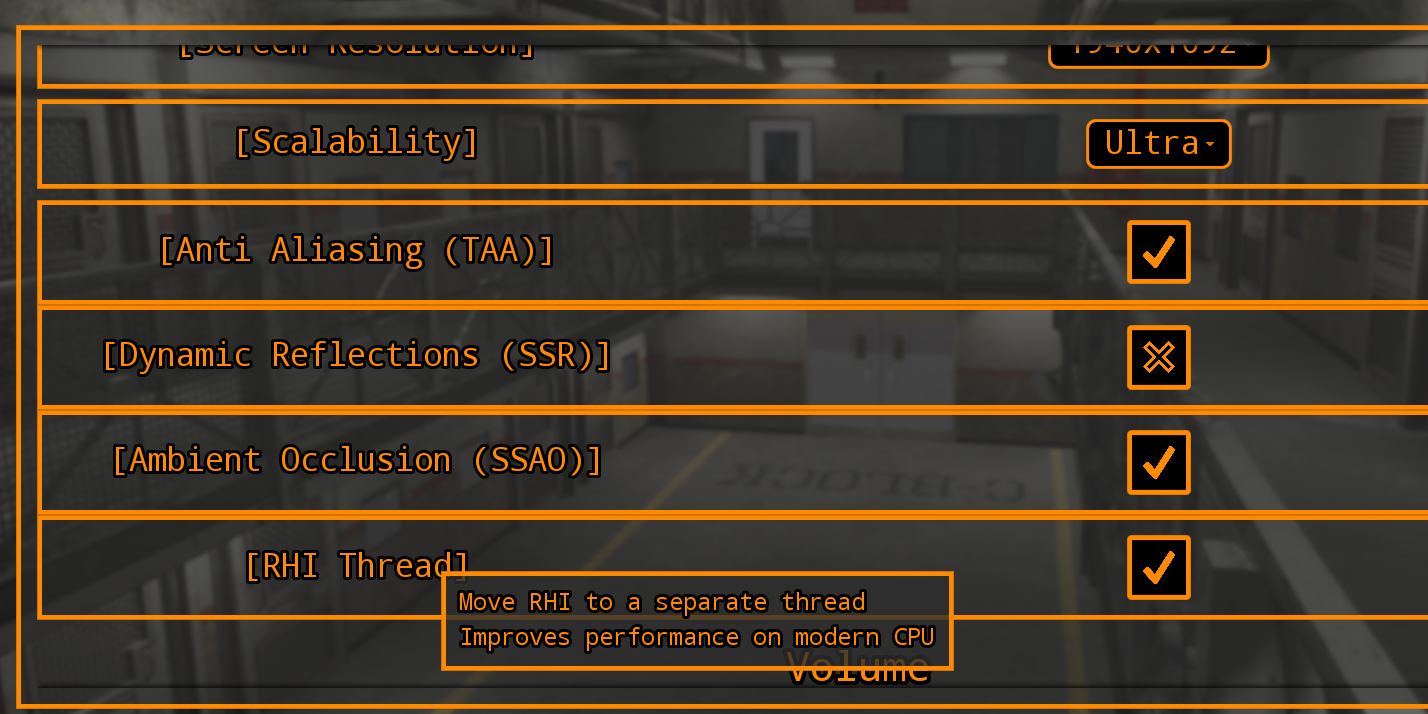
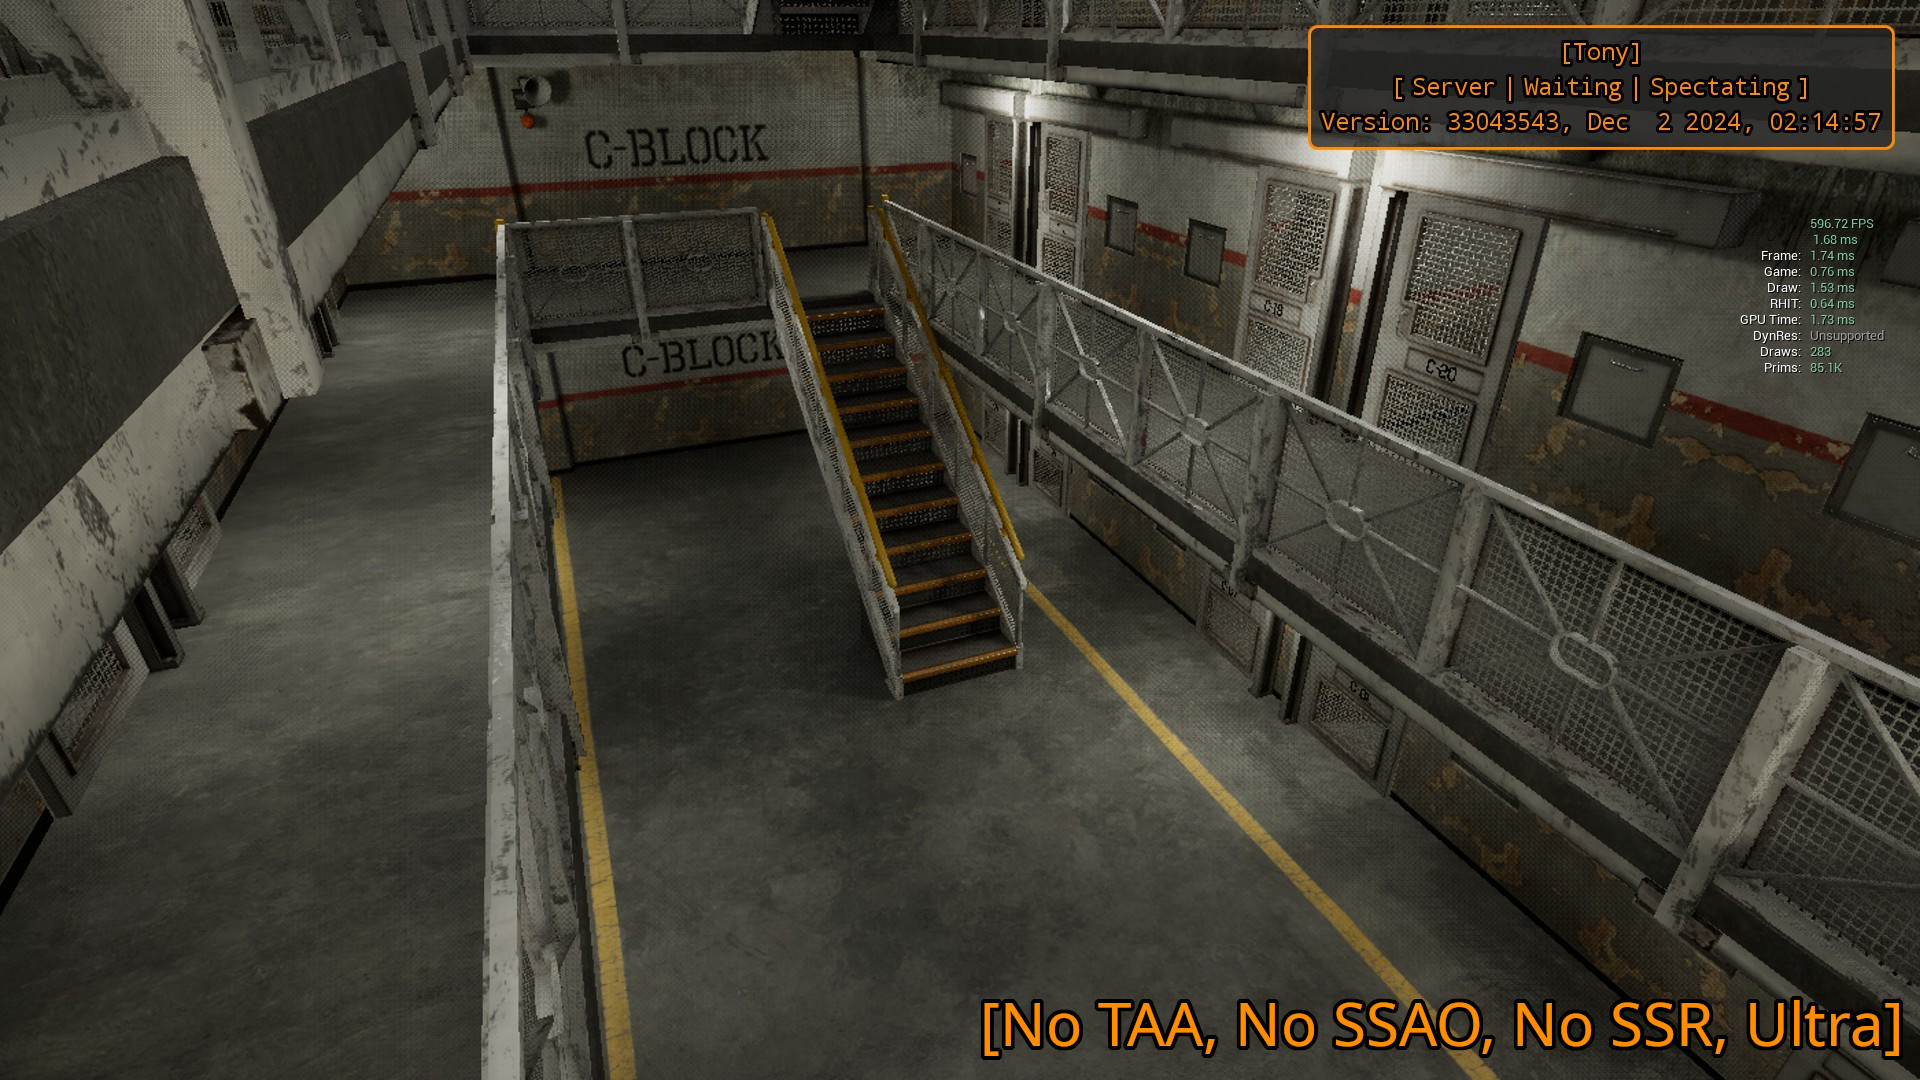
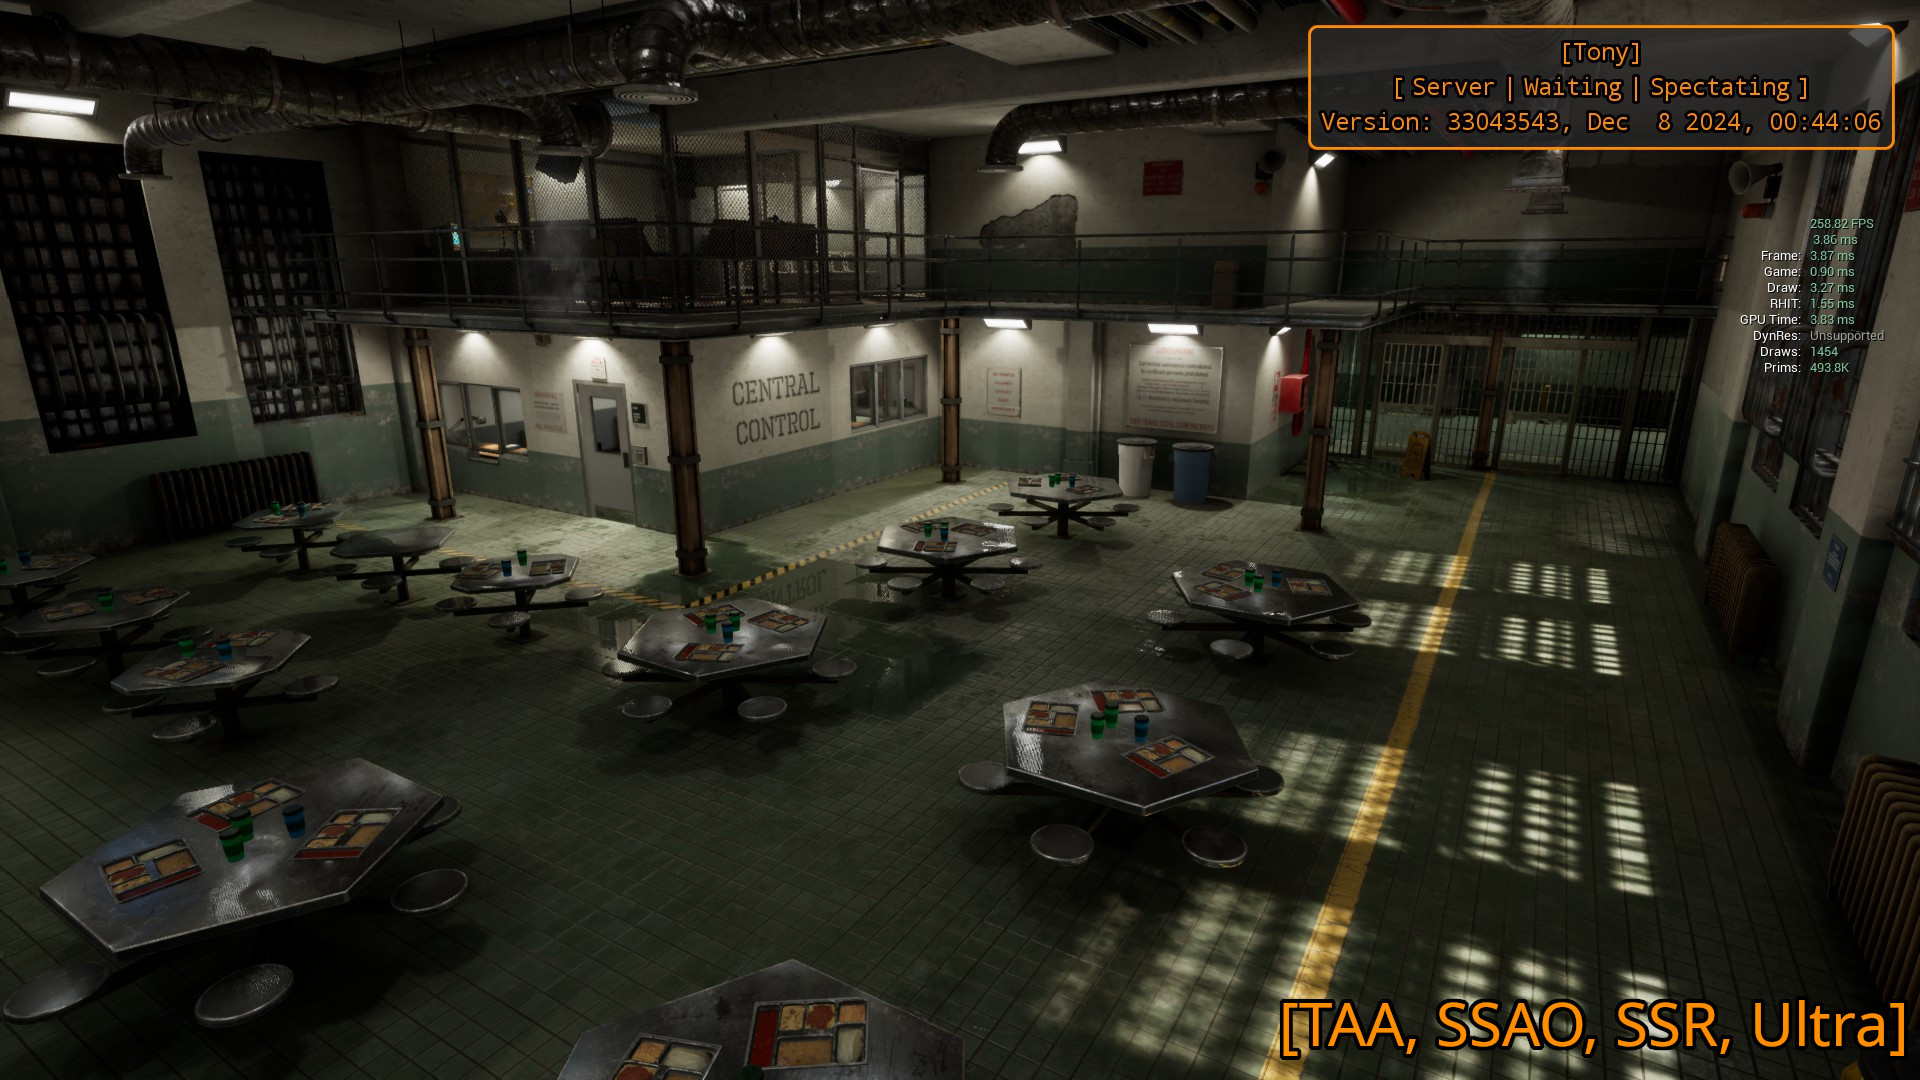
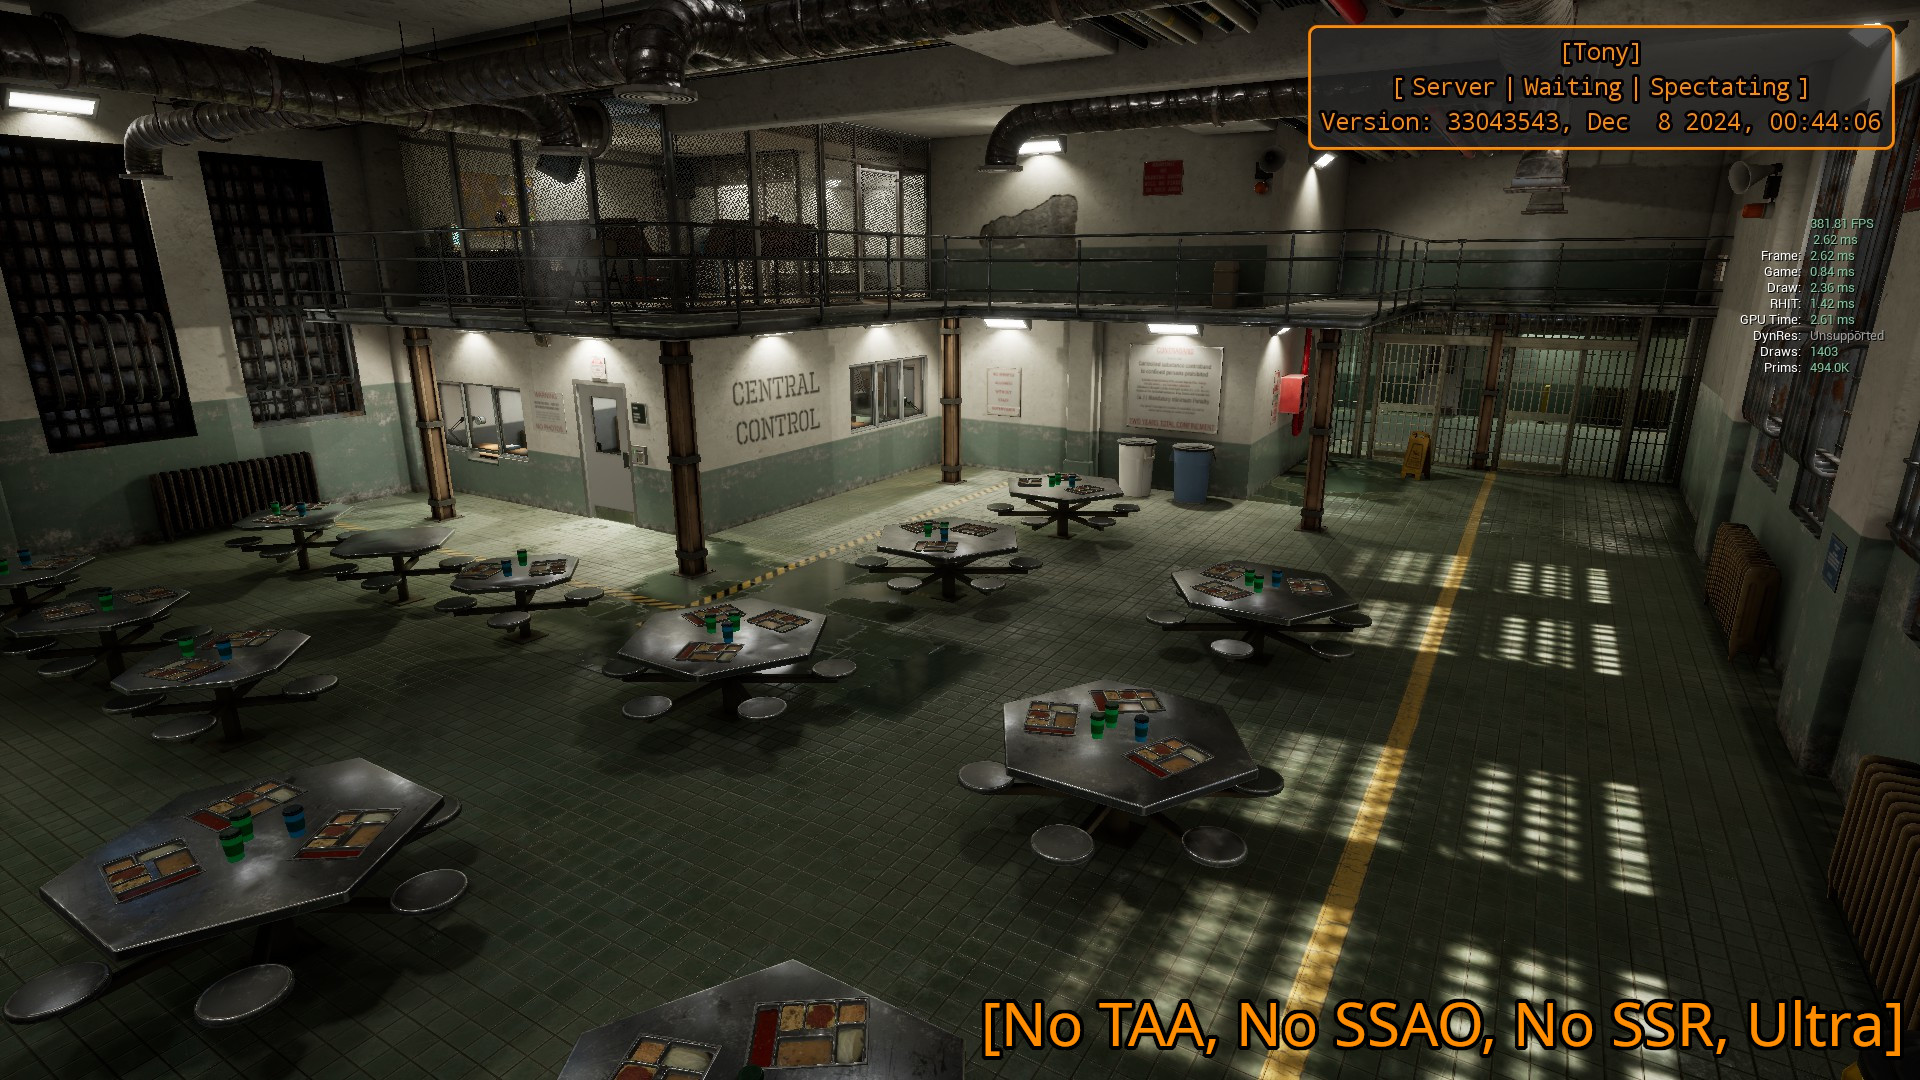
Along that, I also exposed scalability settings, TAA, SSR and SSAO for ultimate potato PCs. To change those you can use
scalability 0-3 to set low-epic settings
r.AmbientOcclusionLevels -1 to enable SSAO, r.AmbientOcclusionLevels 0 to disable it
r.ReflectionMethod 2 for SSR, r.ReflectionMethod 0 no reflections
r.AntiAliasingMethod 2 for TAA, r.AntiAliasingMethod 0 no AA
One important thing to notice here: I don’t allow users to use SSGI by design as it creates ugly transitions in my environment that I couldn’t find out how to improve. In terms of performance, it didn’t affect the numbers by more than around 0.2ms in full HD.
With those settings exposed, I decided to see how it performs with different profiles.

Testing that on the said GT 1030 that player had, they were getting around 200 FPS on low settings with all the mentioned features disabled. We didn’t profile that much since it’s more than enough to play. I also tried to run that on my old Ryzen 5 2400g with no dedicated GPU, and it was giving around 100 FPS.
This could be extended even further with Forward Rendering since I don’t use complex materials, but I was already satisfied with the result, so I avoided spending time on learning more about it.
Needless to say that getting more and more players on the server will decrease the performance, and make the game CPU bound for the listen-server. However, it’s a good result for the little effort that was made to optimize that.
February 2025 Update
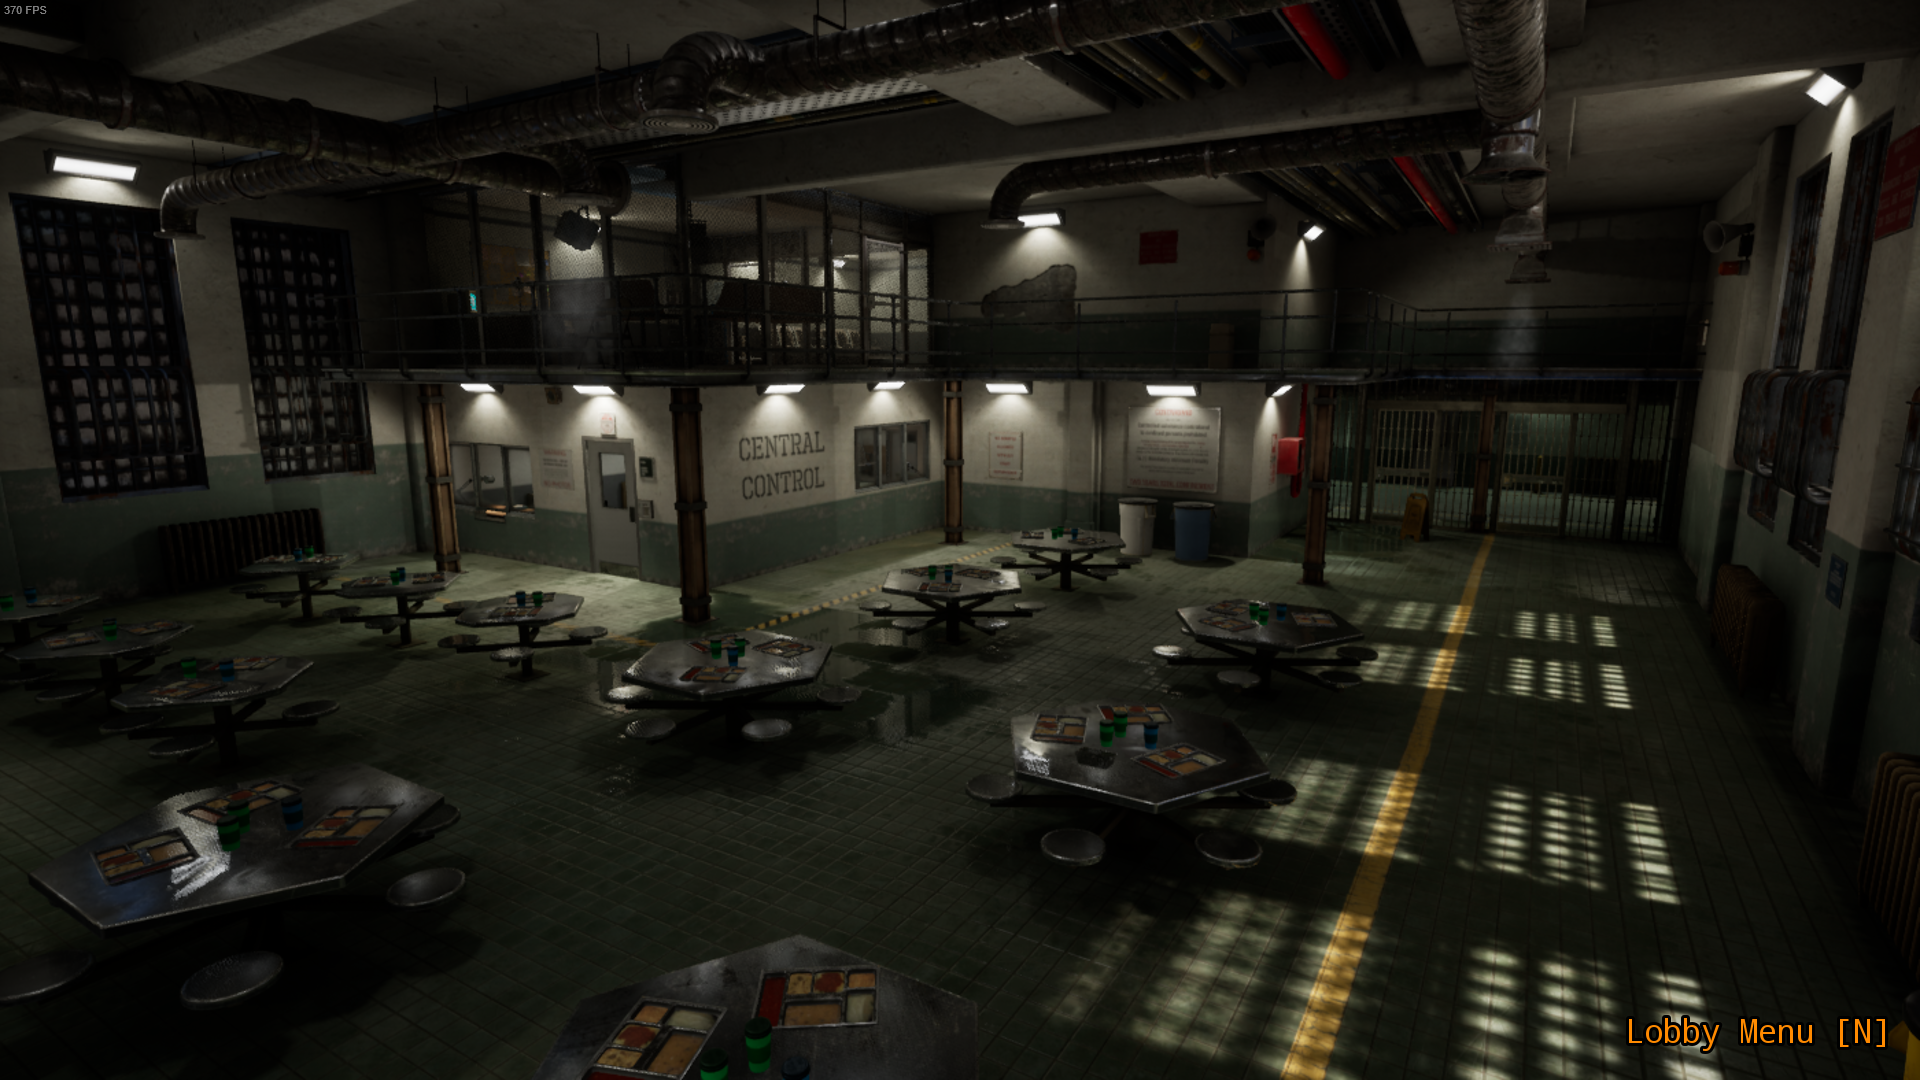
As I’m getting closer and closer to the game release, I started packaging the game in shipping, and the performance difference is huge, which I didn’t expect.
Above, you can see the cafeteria screenshot where I was getting around 260 FPS with all the graphics features I’m using in my game enabled; that was in “development” package configuration. Using “shipping” I’m getting around 370 FPS on the very same hardware with no graphical changes.
Previously, when I was playing the game in my native 3440x1440 I was getting a bit less than 200 FPS in many areas. However, now that I’m using shipping build, I’m constantly getting over 300 FPS, getting up to 400 in smaller rooms compared to the cafeteria.

CPU and GPU baking
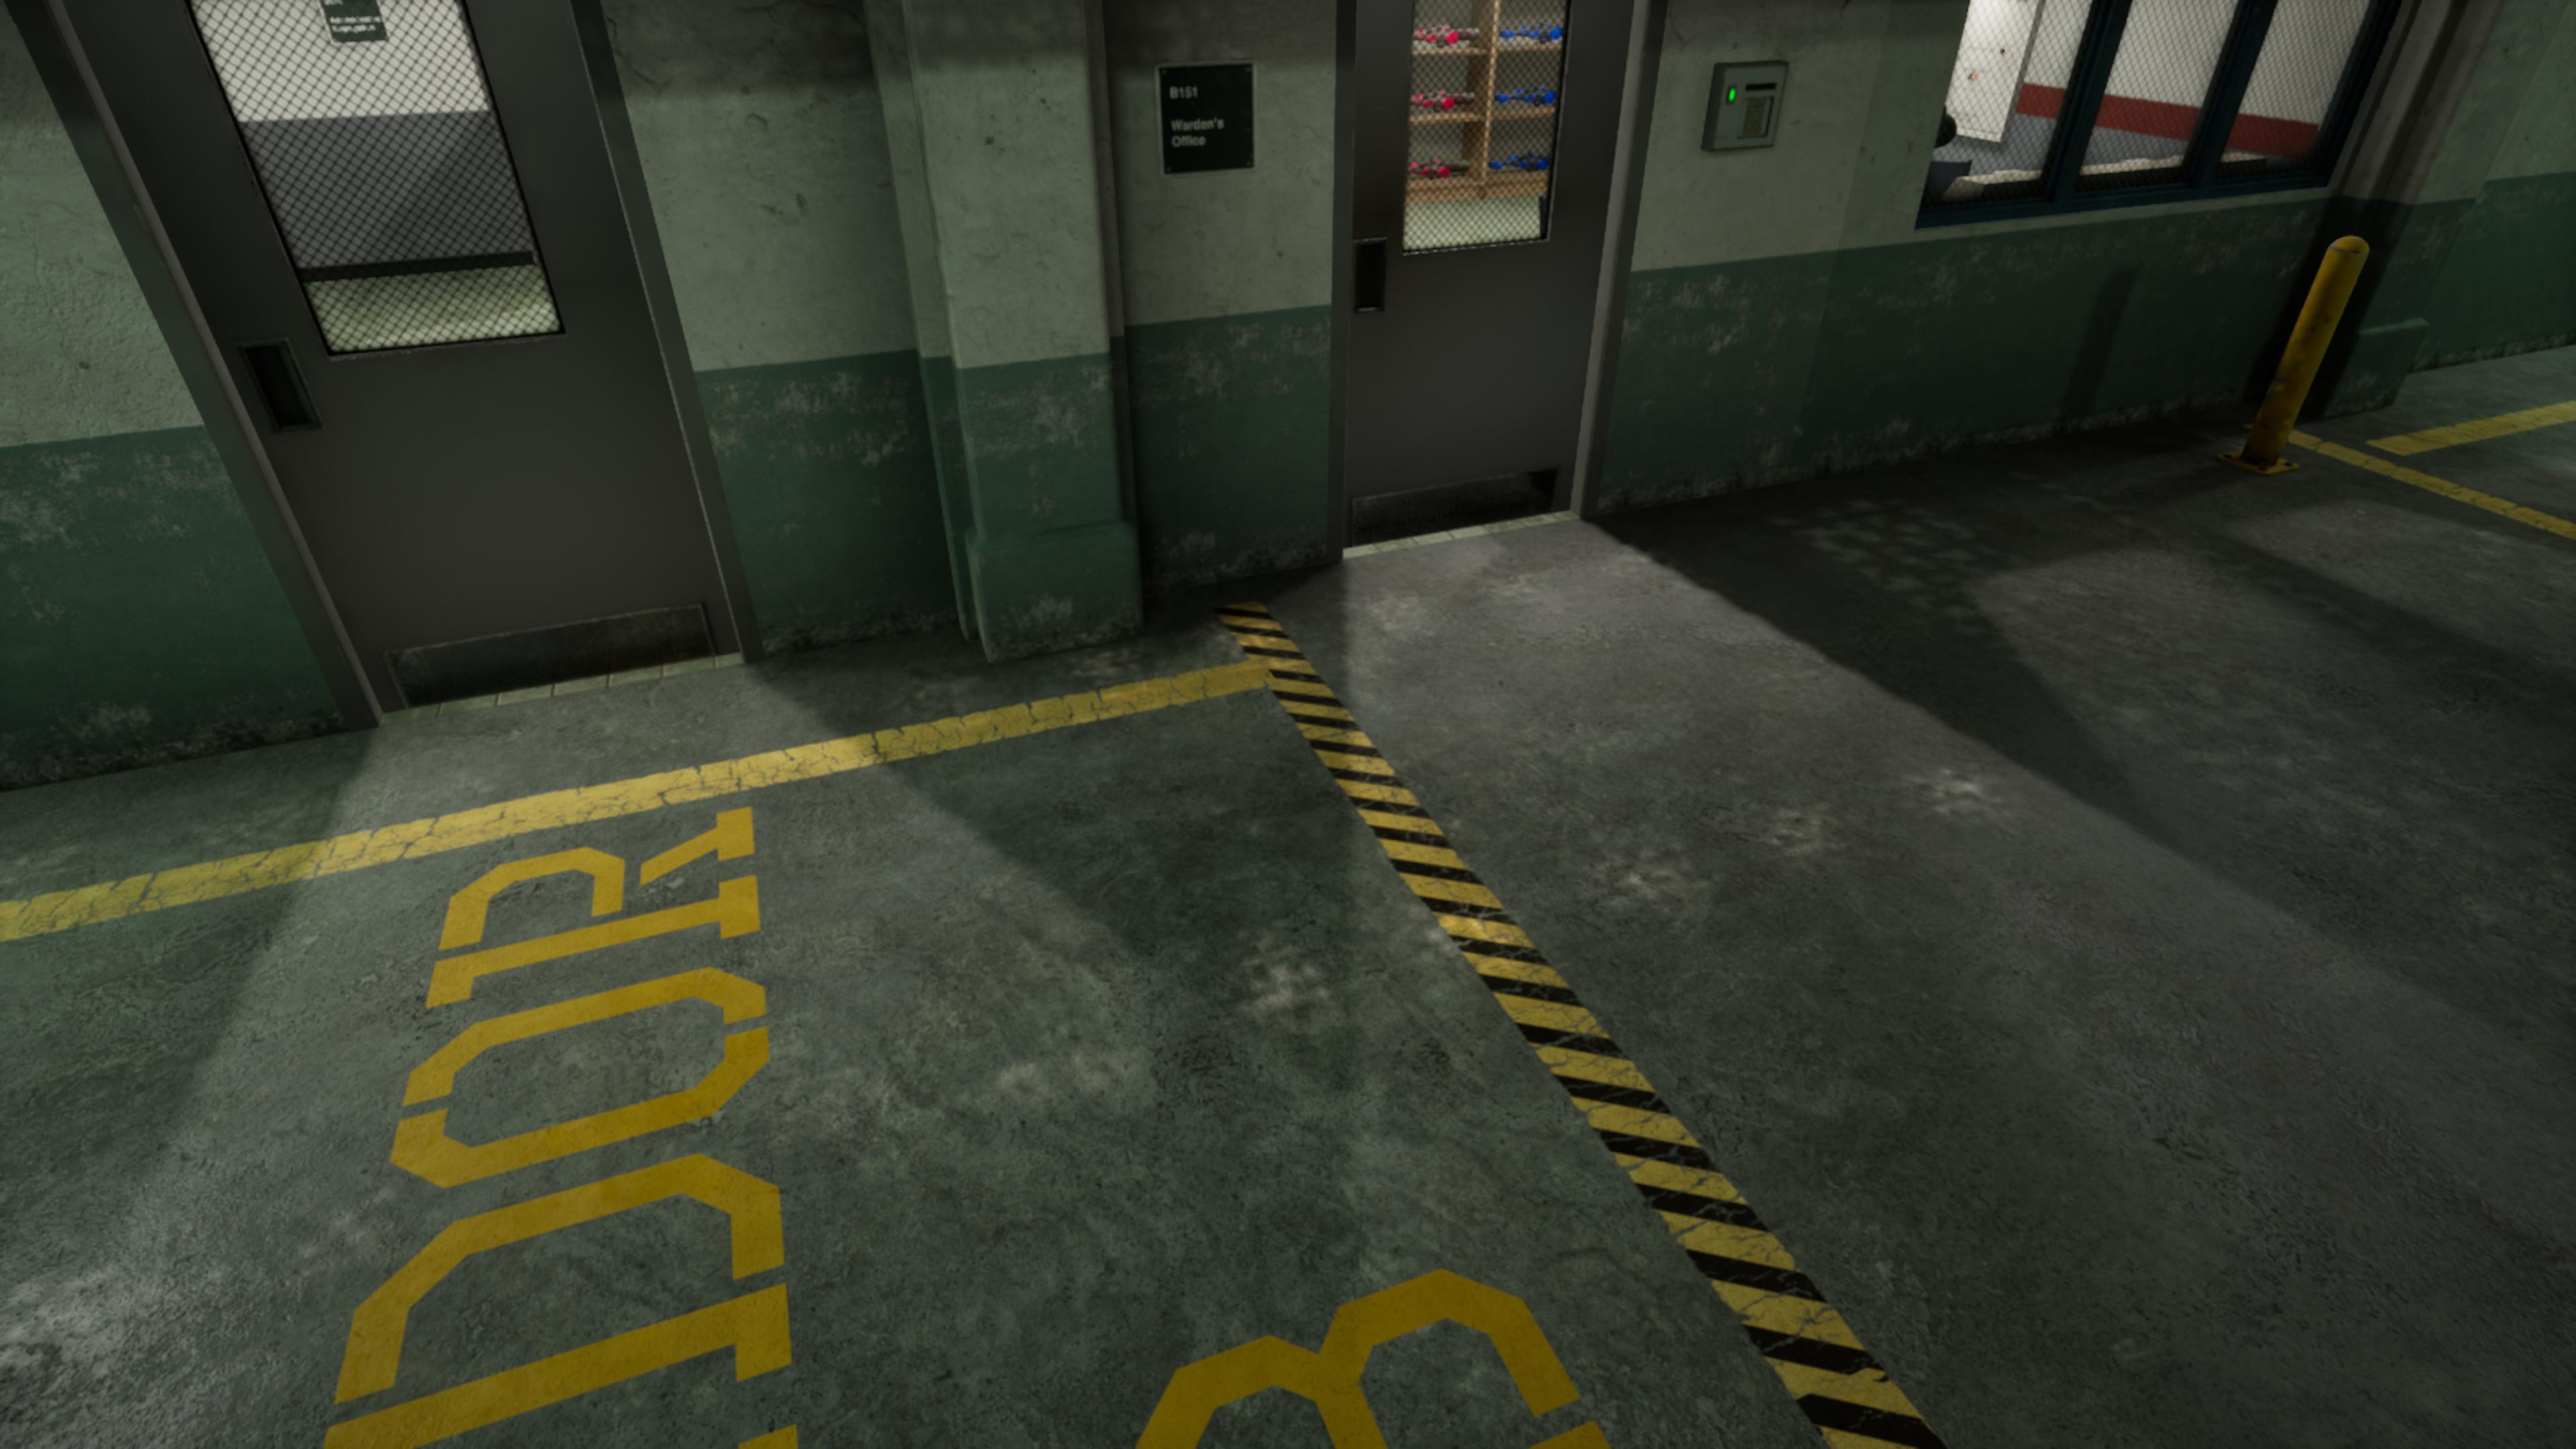
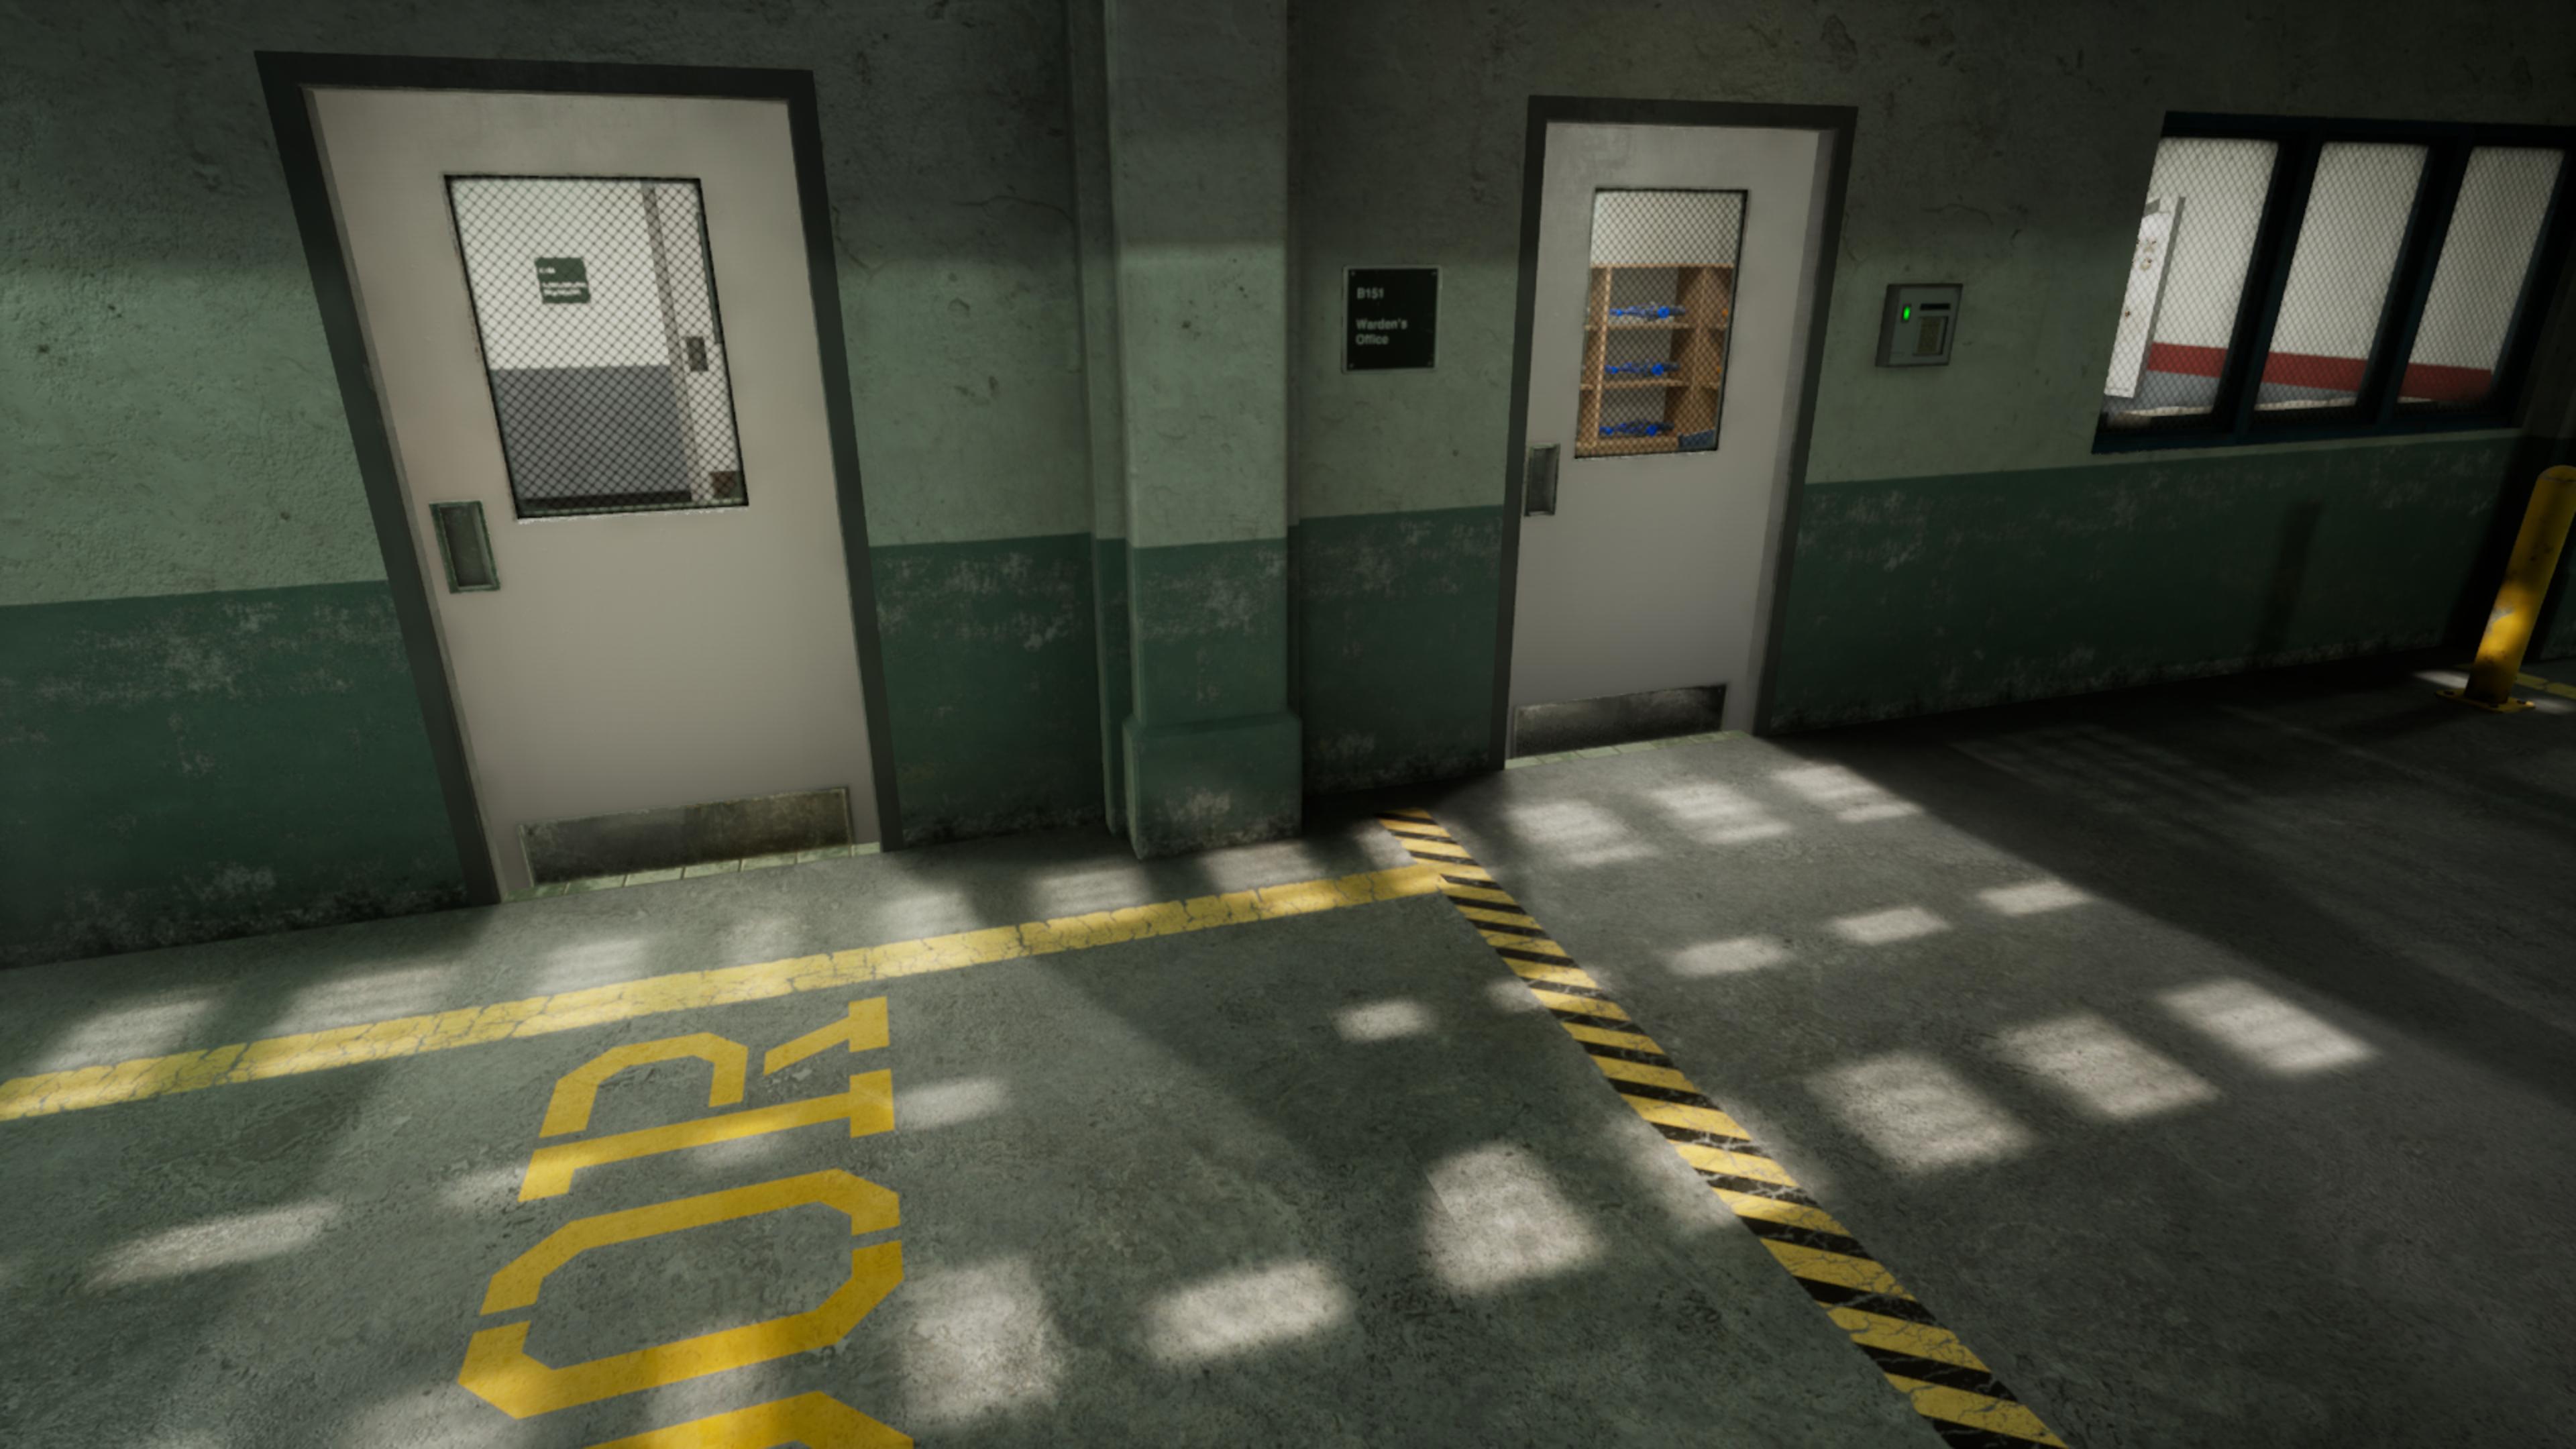
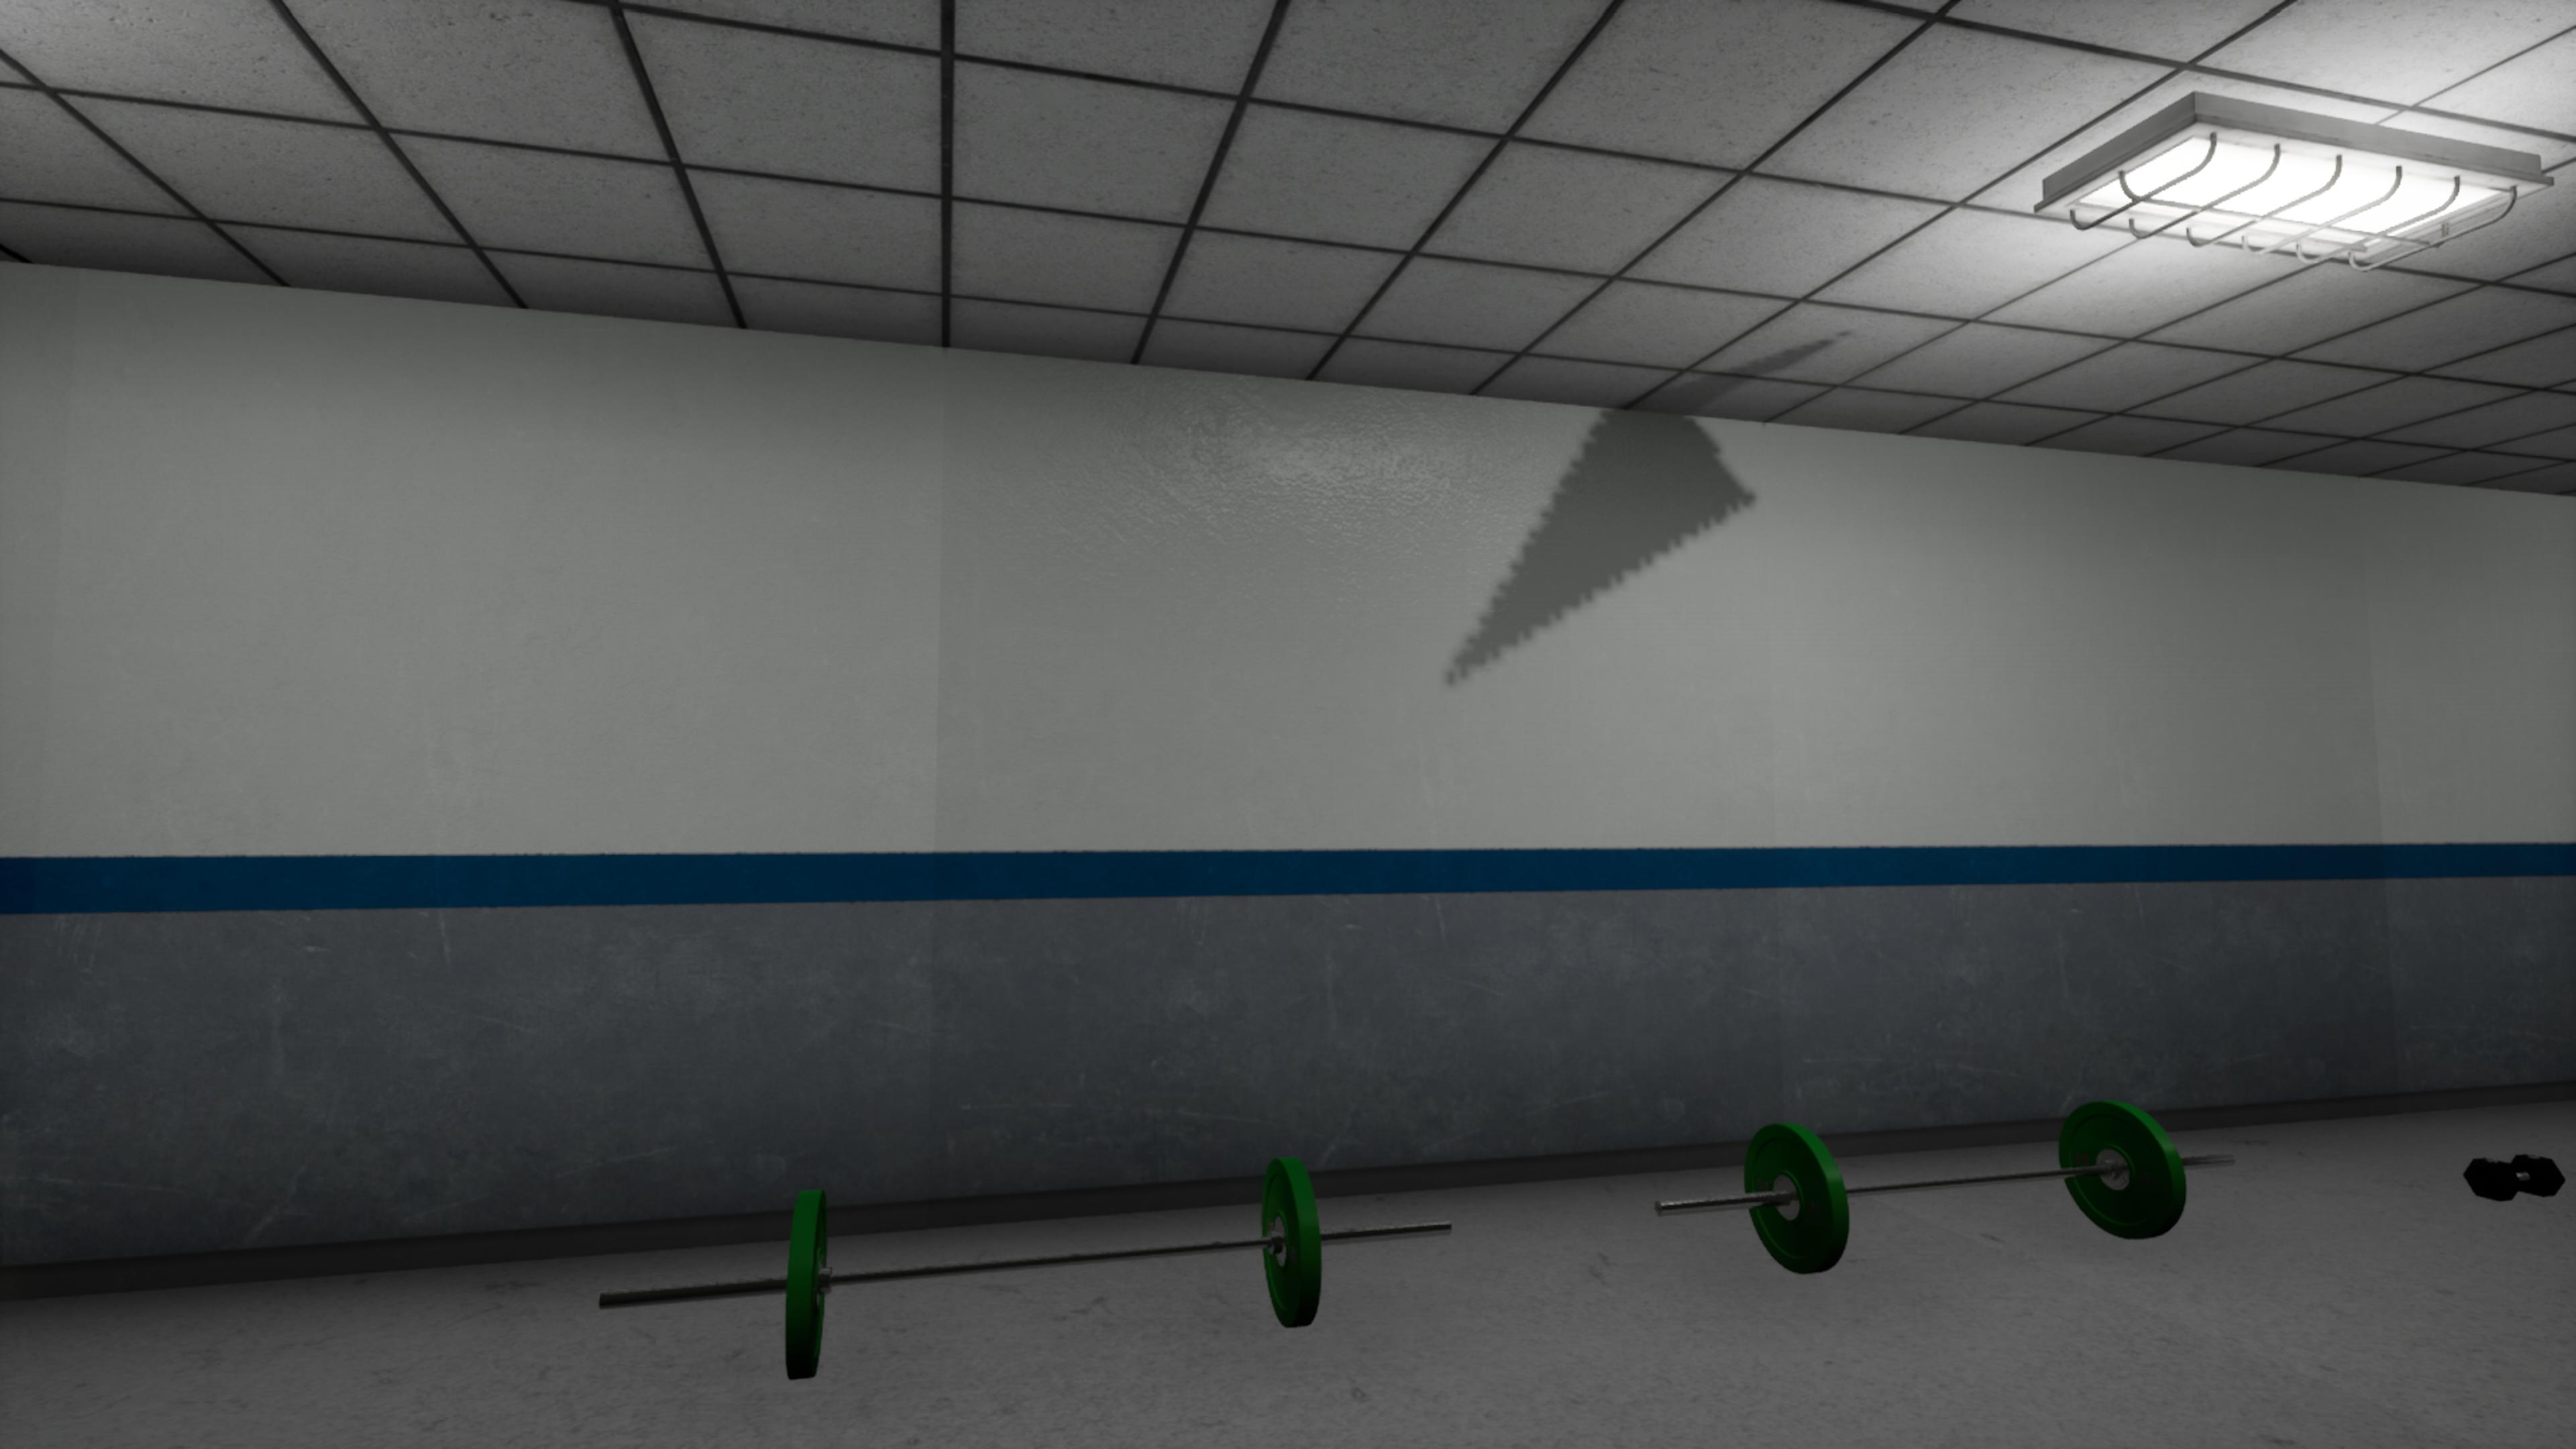
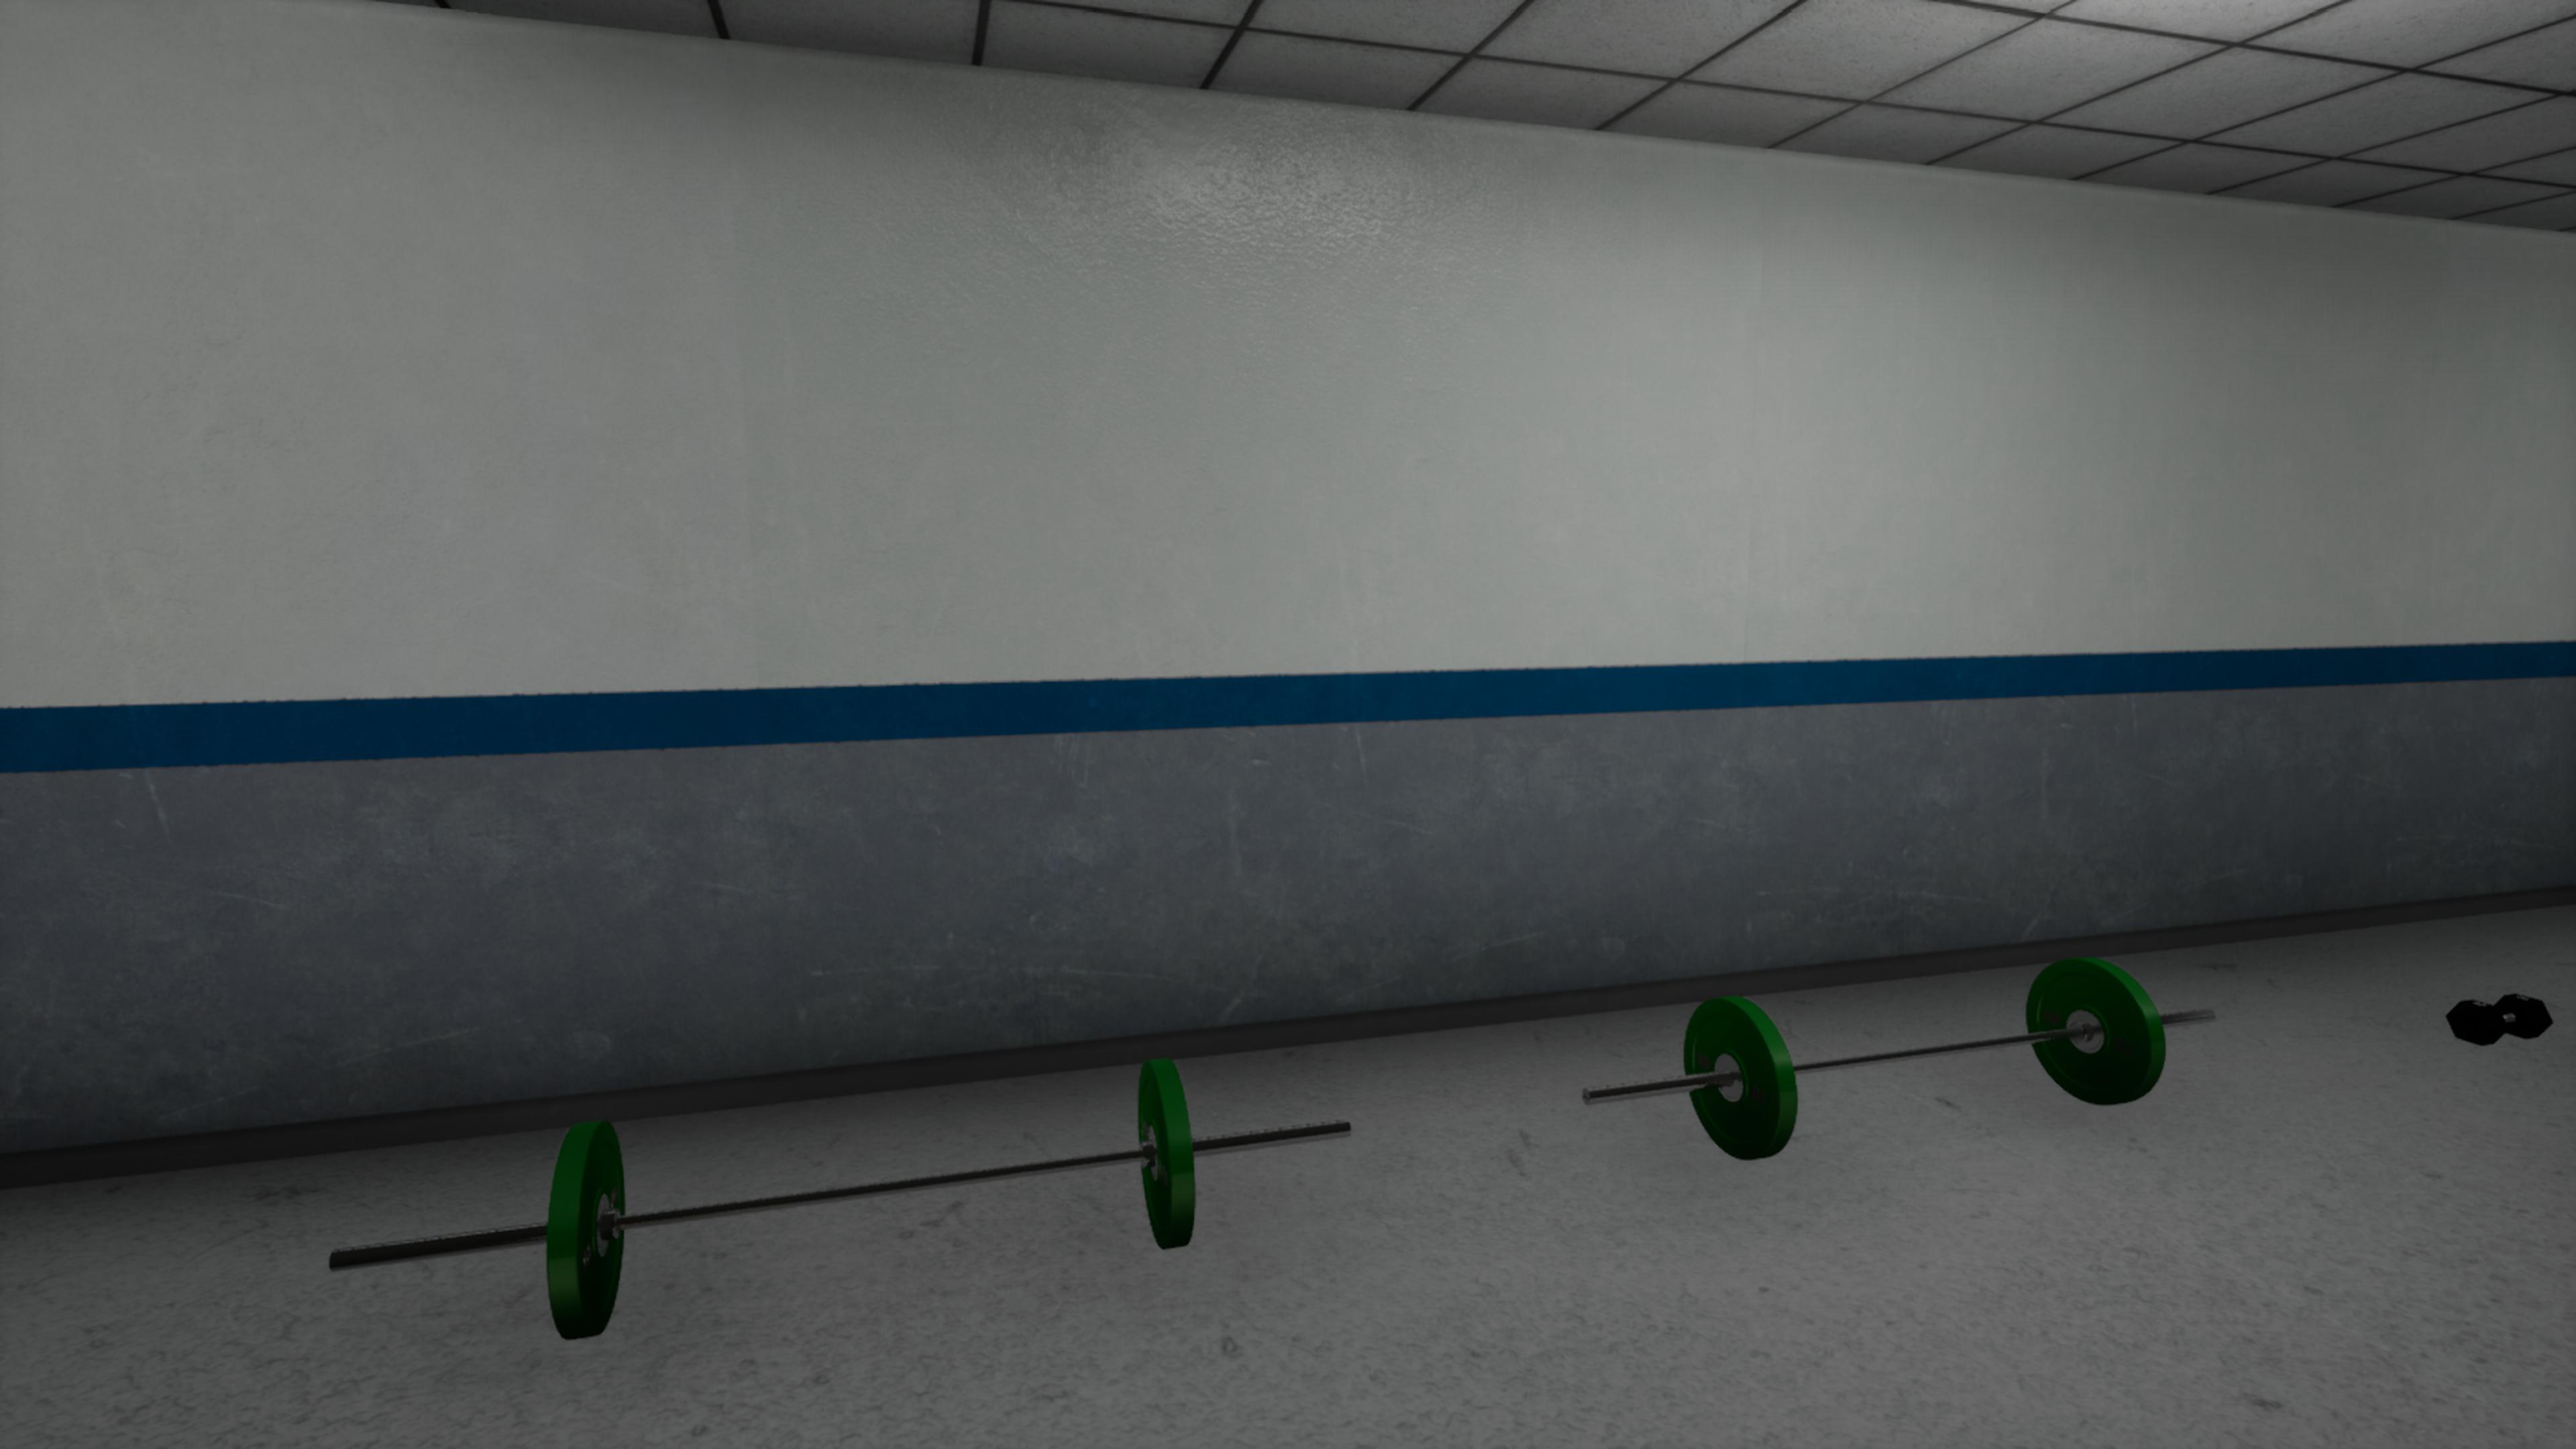
In the “Initial Setup” I stated that I’m using Preview CPU baking for my play tests. It’s great relatively to how long it takes to bake (around 30 seconds for my environment), but it has some ugly artifacts. Most of them are gone on High settings, but not all of them. High settings, on the other hand, take around 12 minutes to bake that environment on my Ryzen 7 7700X.
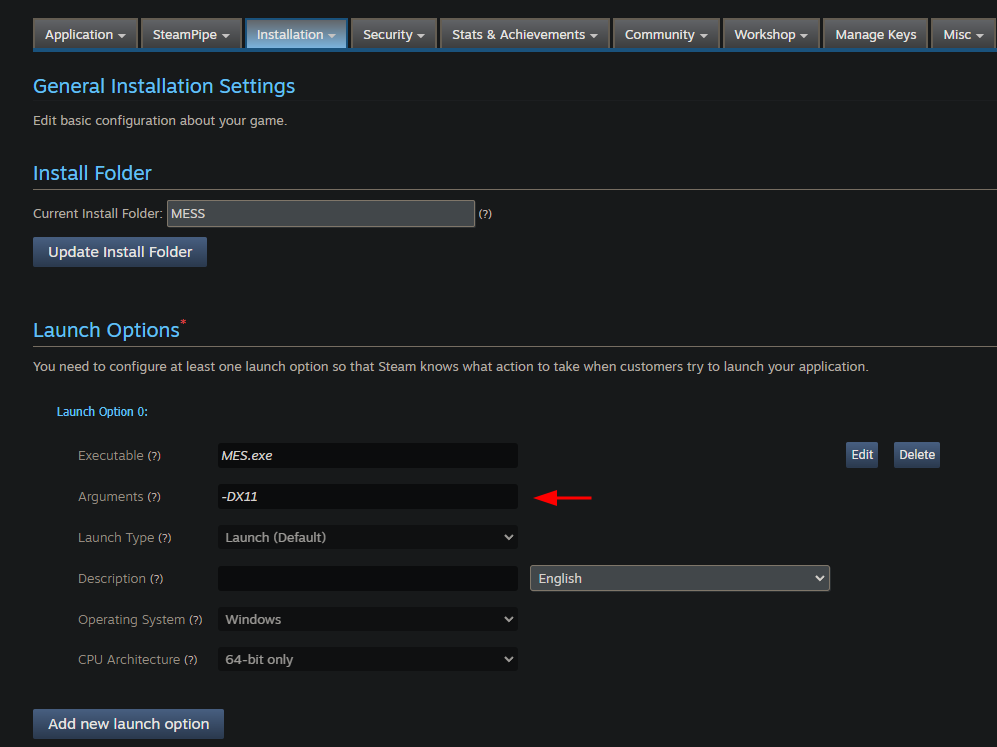
I wanted to see whether I can get perfect baking, so I decided to try out Lightmass. The first thing to mention is that you must use DX12 in the editor and have hardware raytracing enabled to even start baking anything. Switching the default RHI to DX12 also means that users are going to run the game using that, which will lead to losing the performance that we gain by using DX11. To still use DX11 in the packaged build, I simply added that as a default launch argument in Steam Works, but I still use DX12 in the editor.
Baking with default settings Lightmass comes with takes around half an hour if not more on my RTX 3060, but the result is perfect. Here’s the comparison between CPU Preview and Default Lightmass.
Networking
When playing as a listen-server, you have a lot of additional logic running to perform authoritative actions and replication. In my case, the game thread was getting to around 5ms with 3 connected clients. I have around 400 replicated actors; there are food plates, drinks and crates players can carry around, pickups to interact with, doors to open, engines to refill, CCTVs to watch and so on.
Most of them might never be even touched throughout an entire play session, whereas others might be used for only a few seconds; this makes them a perfect candidate to apply the concept dormancy on. By default, the engine will check whether the state of a particular replicated property on an actor has changed, and send that to all the relevant clients in case the value did change. However, in case that it didn’t change, nothing will happen; that means that we effectively did some useless work.
Epic covered the concept of dormancy on their website that I recommend reading to learn more about it.
Simple replicated actors like pickups and doors were extremely easy to optimize; setting the dormancy to Initial made it work right away. Anytime you change a replicated variable in blueprints, it automatically flushes the net dormancy, which means that it will replicate that property, and switch to Dormant All in case it was dormant before. In case you don’t have anything else but setters when it comes to replication of your actor, you don’t have to do anything else but select a different dormancy policy.
Some actors that have a replicated timeline require you to set the dormancy to Awake when the timeline starts playing, and to Dormant All when it’s finished. Other than that, my setup didn’t require any other actions to get the dormancy working on all my replicated actors.
With this tweak, I lowered my game thread from around 5ms to around 1.5ms in almost no time. Note that these numbers were gathered when running the listen-server with 3 connected players with no actions going on, e.g. player characters spawned into the world, and are not doing absolutely anything.
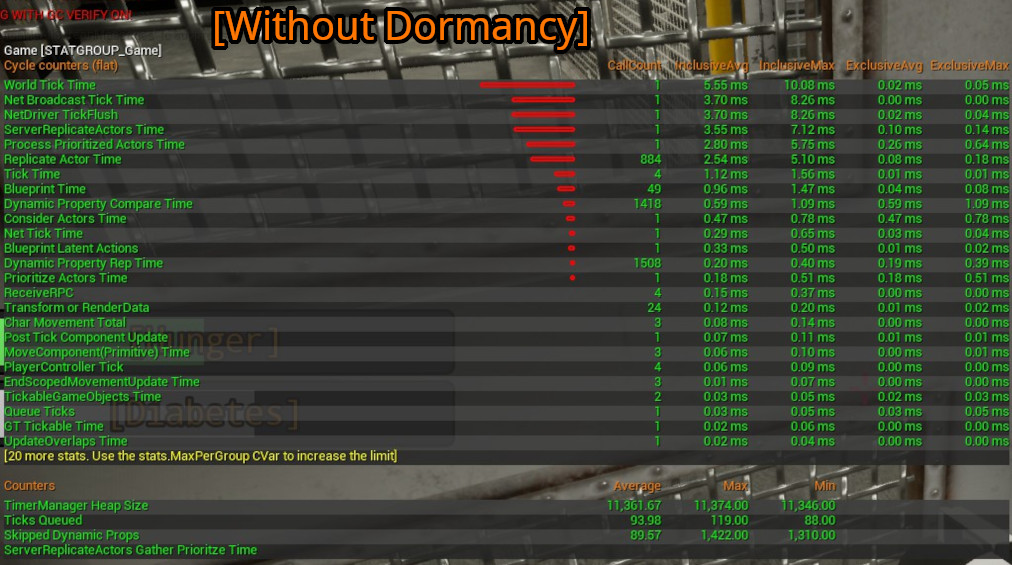
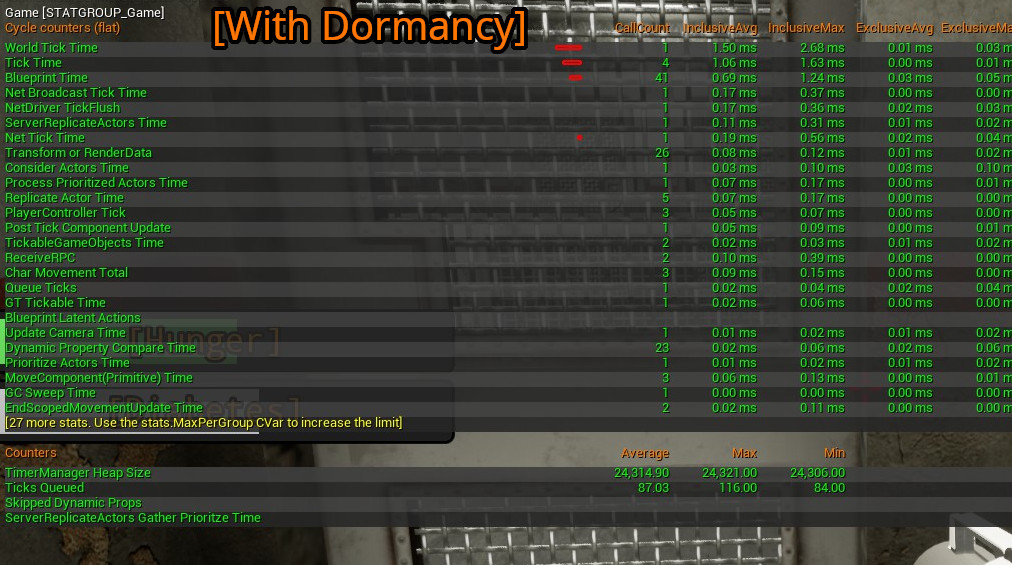
I didn’t run a lot of profiling on this one either, but these are rough numbers of what I was getting before and what I got right now.
It’s always possible to optimize even further using relevancy and other techniques, but the performance gain/time spent ratio would be way lower to what I got with dormancy.
Conclusion
When it comes to optimization, gather the lowest hanging fruits first. Profile your game, identify your bottlenecks and fix the ones that give you the most profit with the least amount of effort.
The majority of the tweaks take a bit more time and knowledge relatively to checking a single checkbox for Lumen and its related settings, but the difference is huge. It would’ve not worked as good as it did if my environment would’ve been dynamic, but it is not.